
A 1960 D7 Pastoral Lives Again!
| 1999 | |
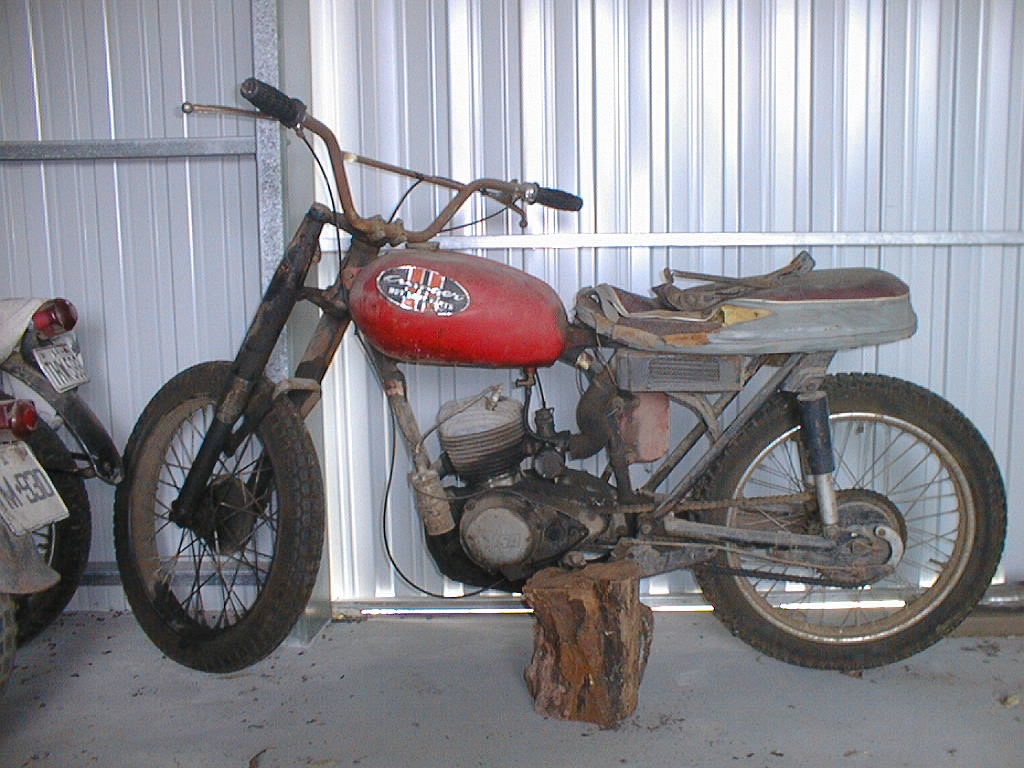 |
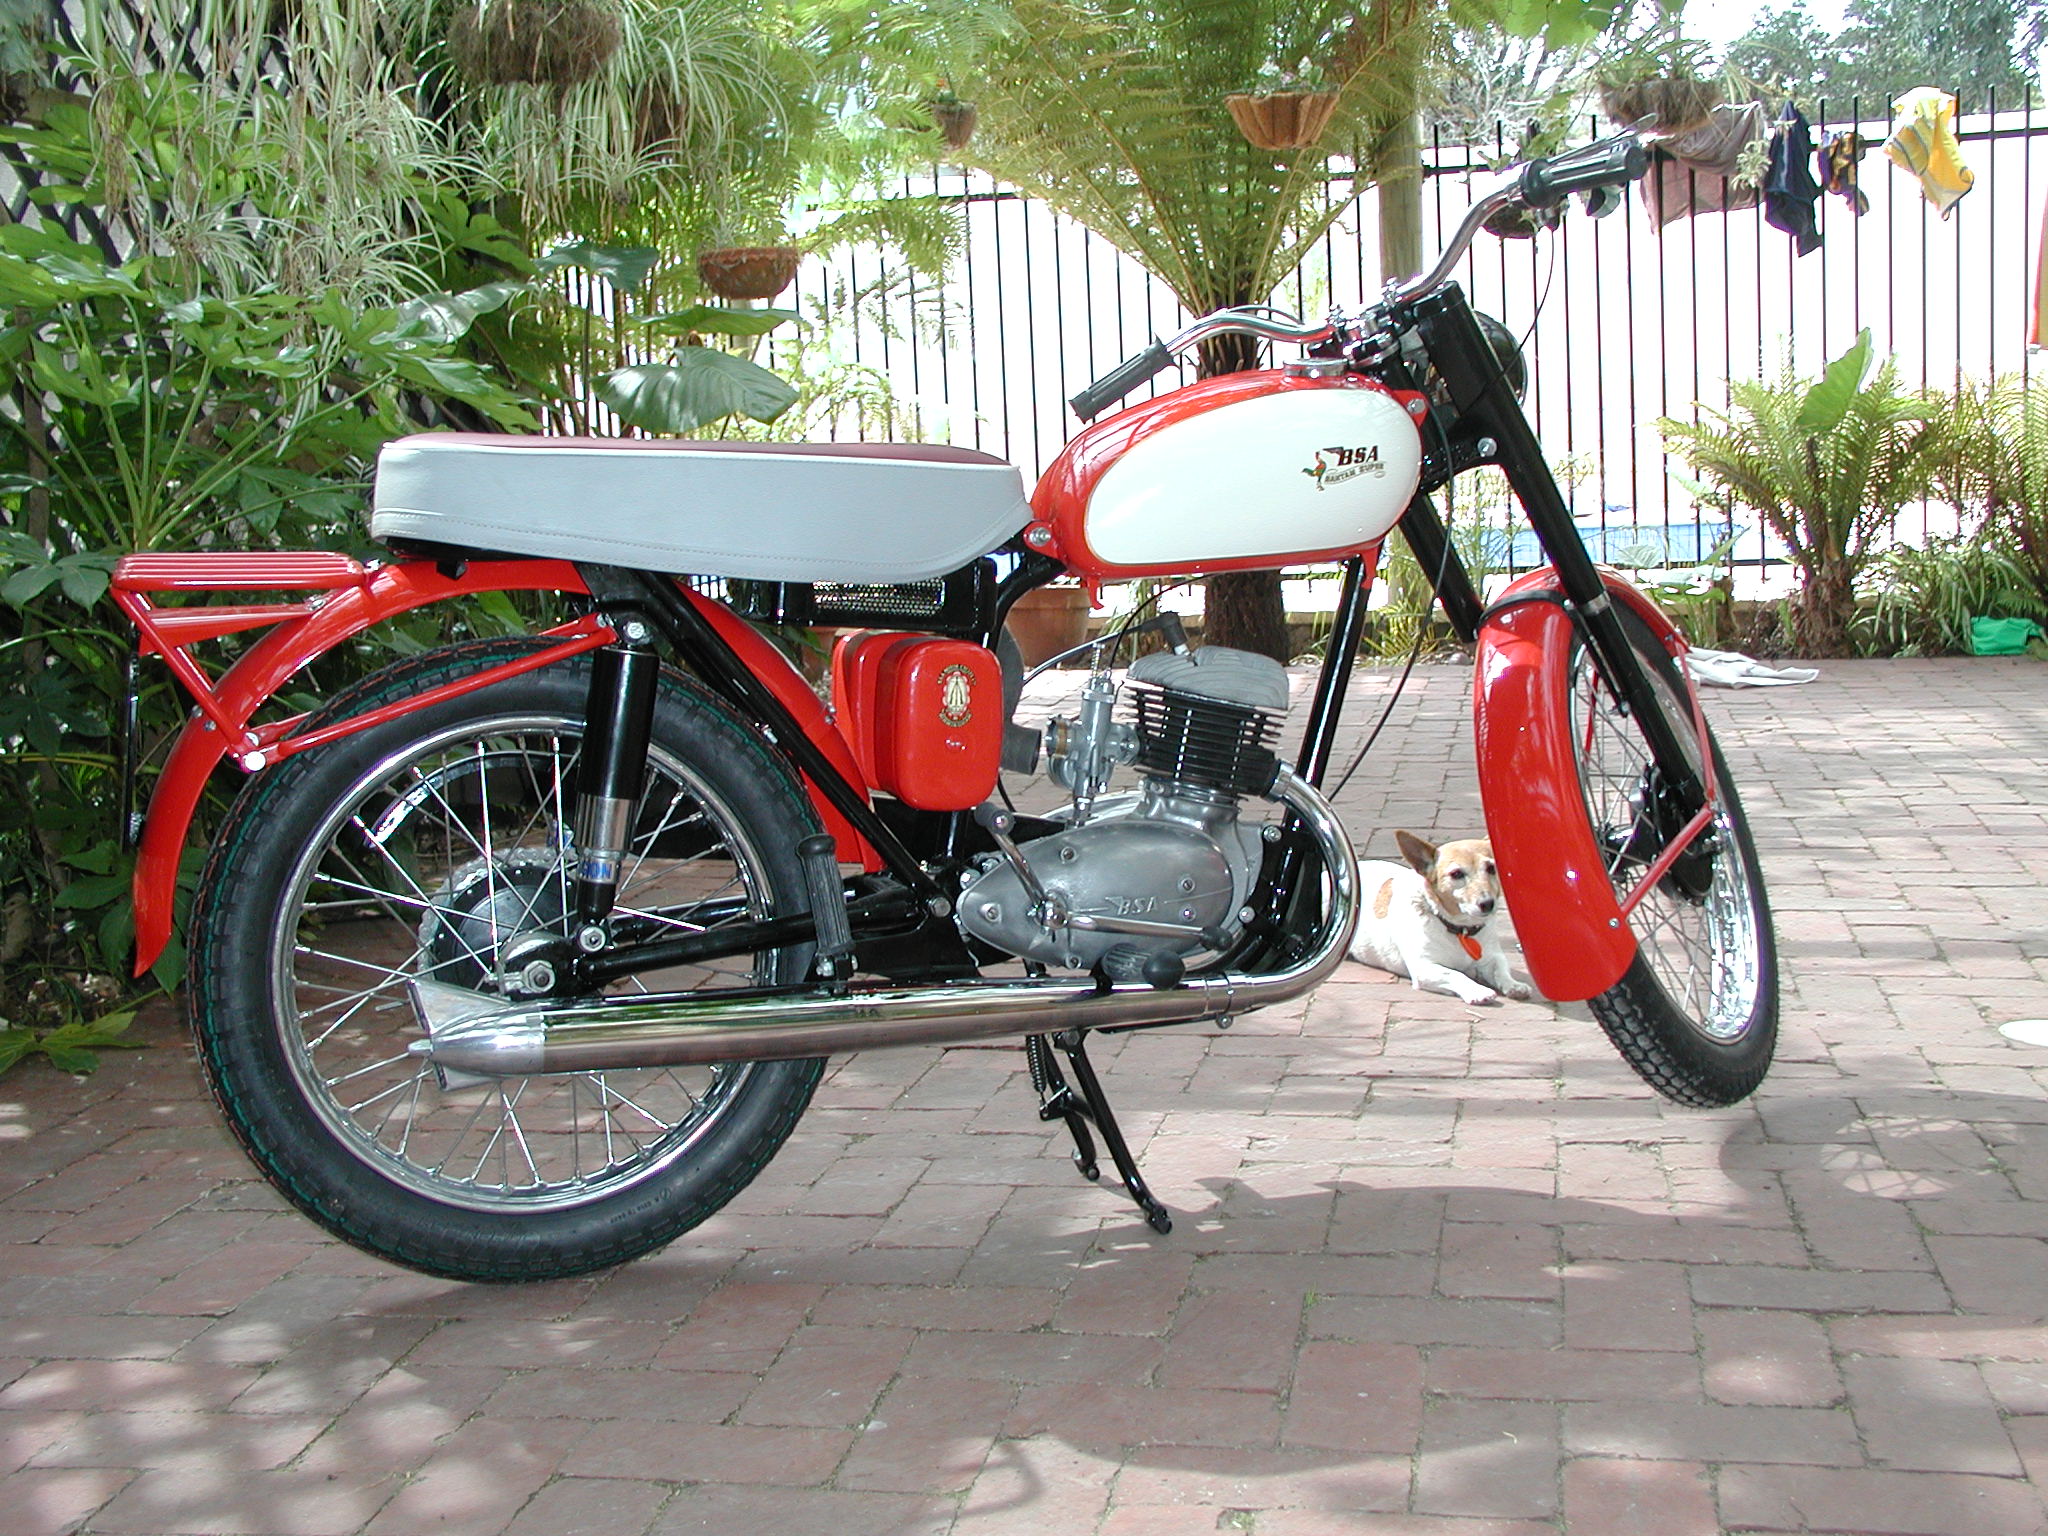
I purchased this 1960 D7 for $4 just 35 years ago. It was my means of transport through my school years and progressed to become my dirt bike (a role it didn't accomplish very well) and eventually it slid into disrepair - a badly abused old Bantam. Somehow I kept it all these years and vowed one day I would restore it. The bike itself is a 1960 D7 Pastoral. This was a variant assembled in Adelaide for the rural market. They were sold new with light weight guards, underseat Volkes air filter, carry rack and two small toolboxes. Many were used on farms. Mine (pictured) has C11 forks which I fitted in the 1970's for some reason which is lost in the haze of time!
|
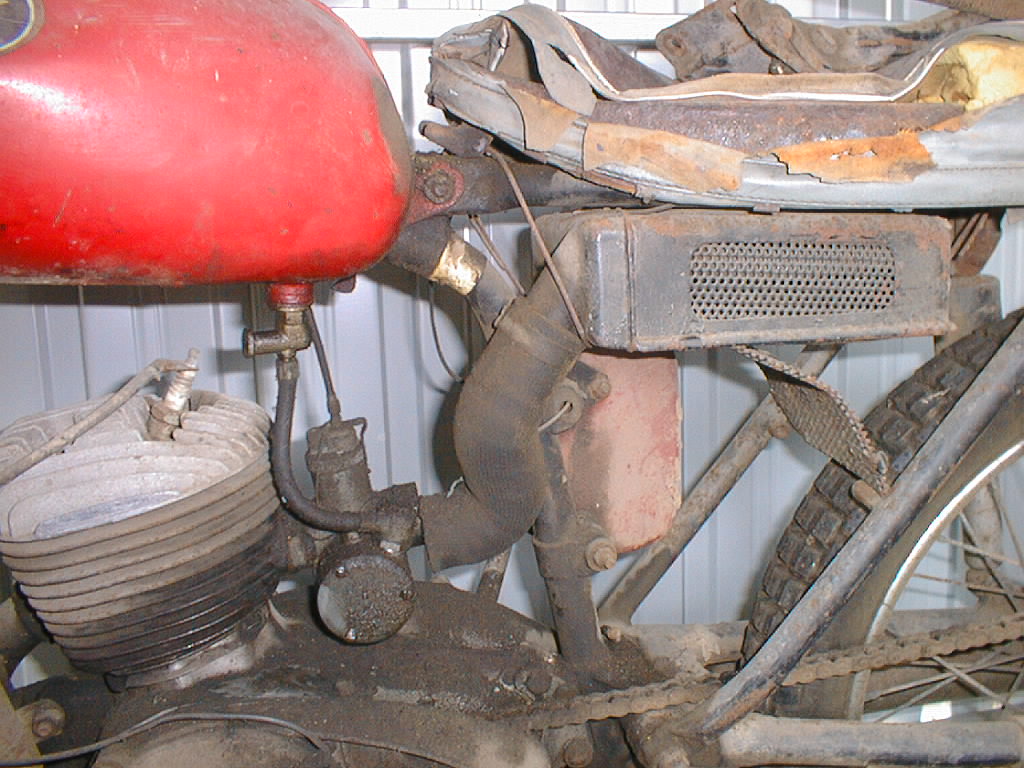 |
The photo says it all really! Note the Volkes air filter under what is left of the seat. When I was 17 my father was highly impressed by my mechanical aptitude as is evidenced by the air filter held on by string and the toolbox retained by fencing wire. When I stripped the motor down I found a gudgeon circlip I had made out of bent wire. All this is the good news - how I thrashed the poor thing is another story! |
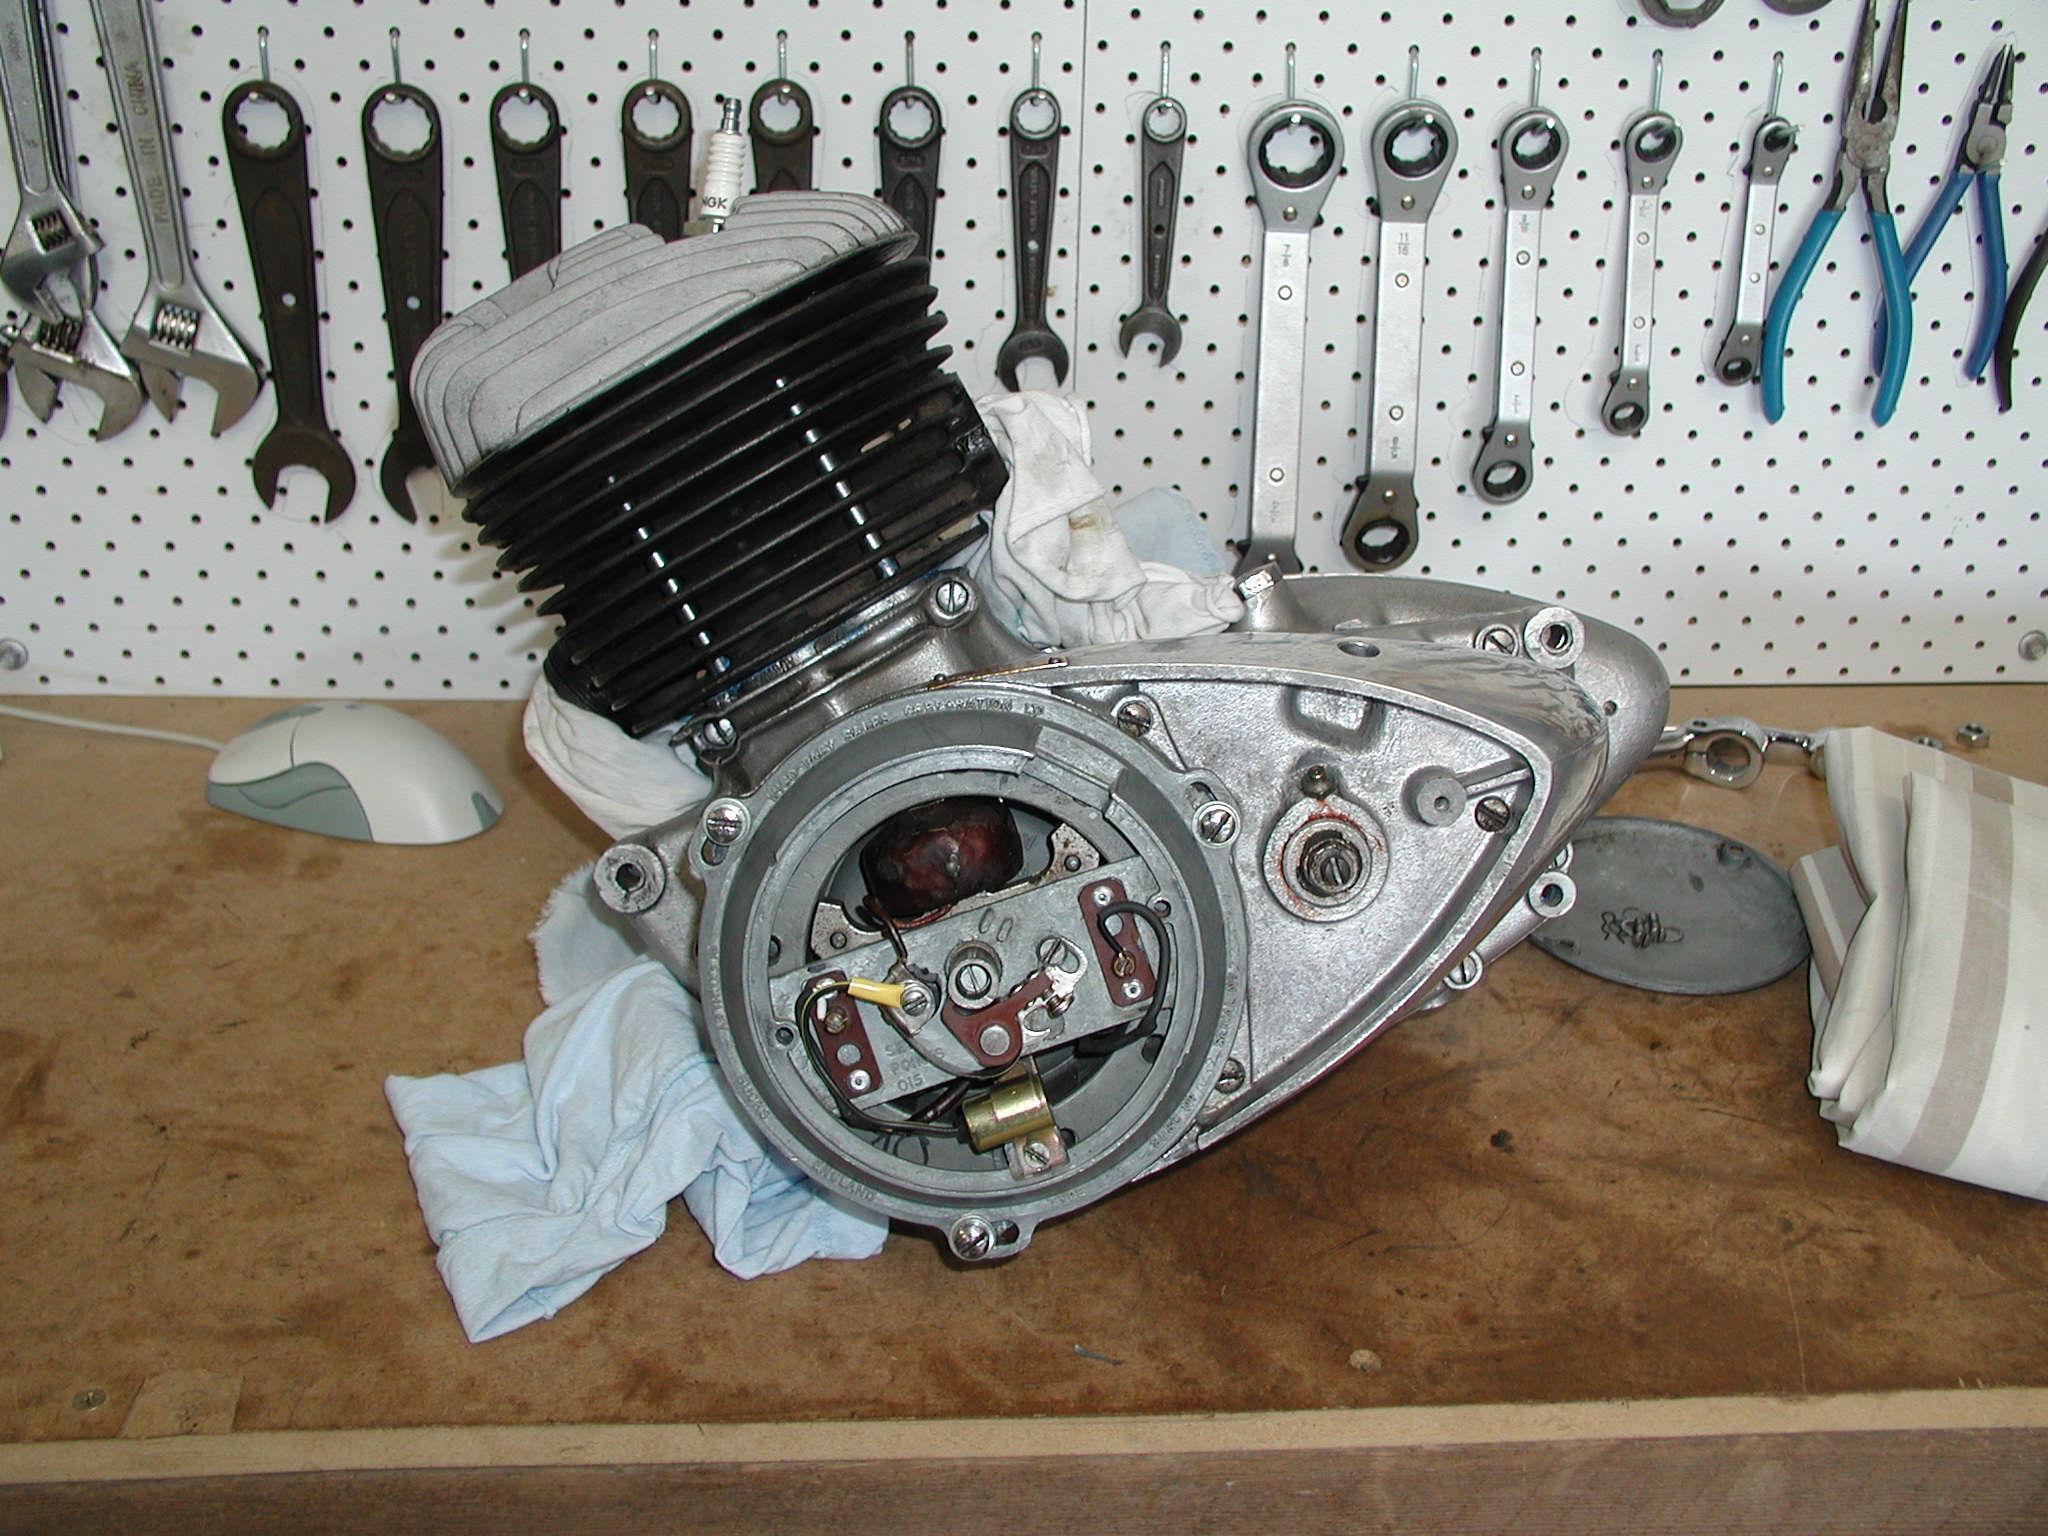 |
The bike was disassembled and the fun started. Frame broken, yes broken, in three places. Off to a specialist frame repairer. Engine stripped down and a new rod and mains obtained from T&G. Sent out to an engineer (who took 18 months to do the job!) then to another more reliable engineer for the rebore and new piston and rings. replaced all the usual pieces - gearchange secector spring, kickstart return spring and all gaskets. Wired the electrics ready for 12 volt conversion.. Engine was ready to go in the frame. |
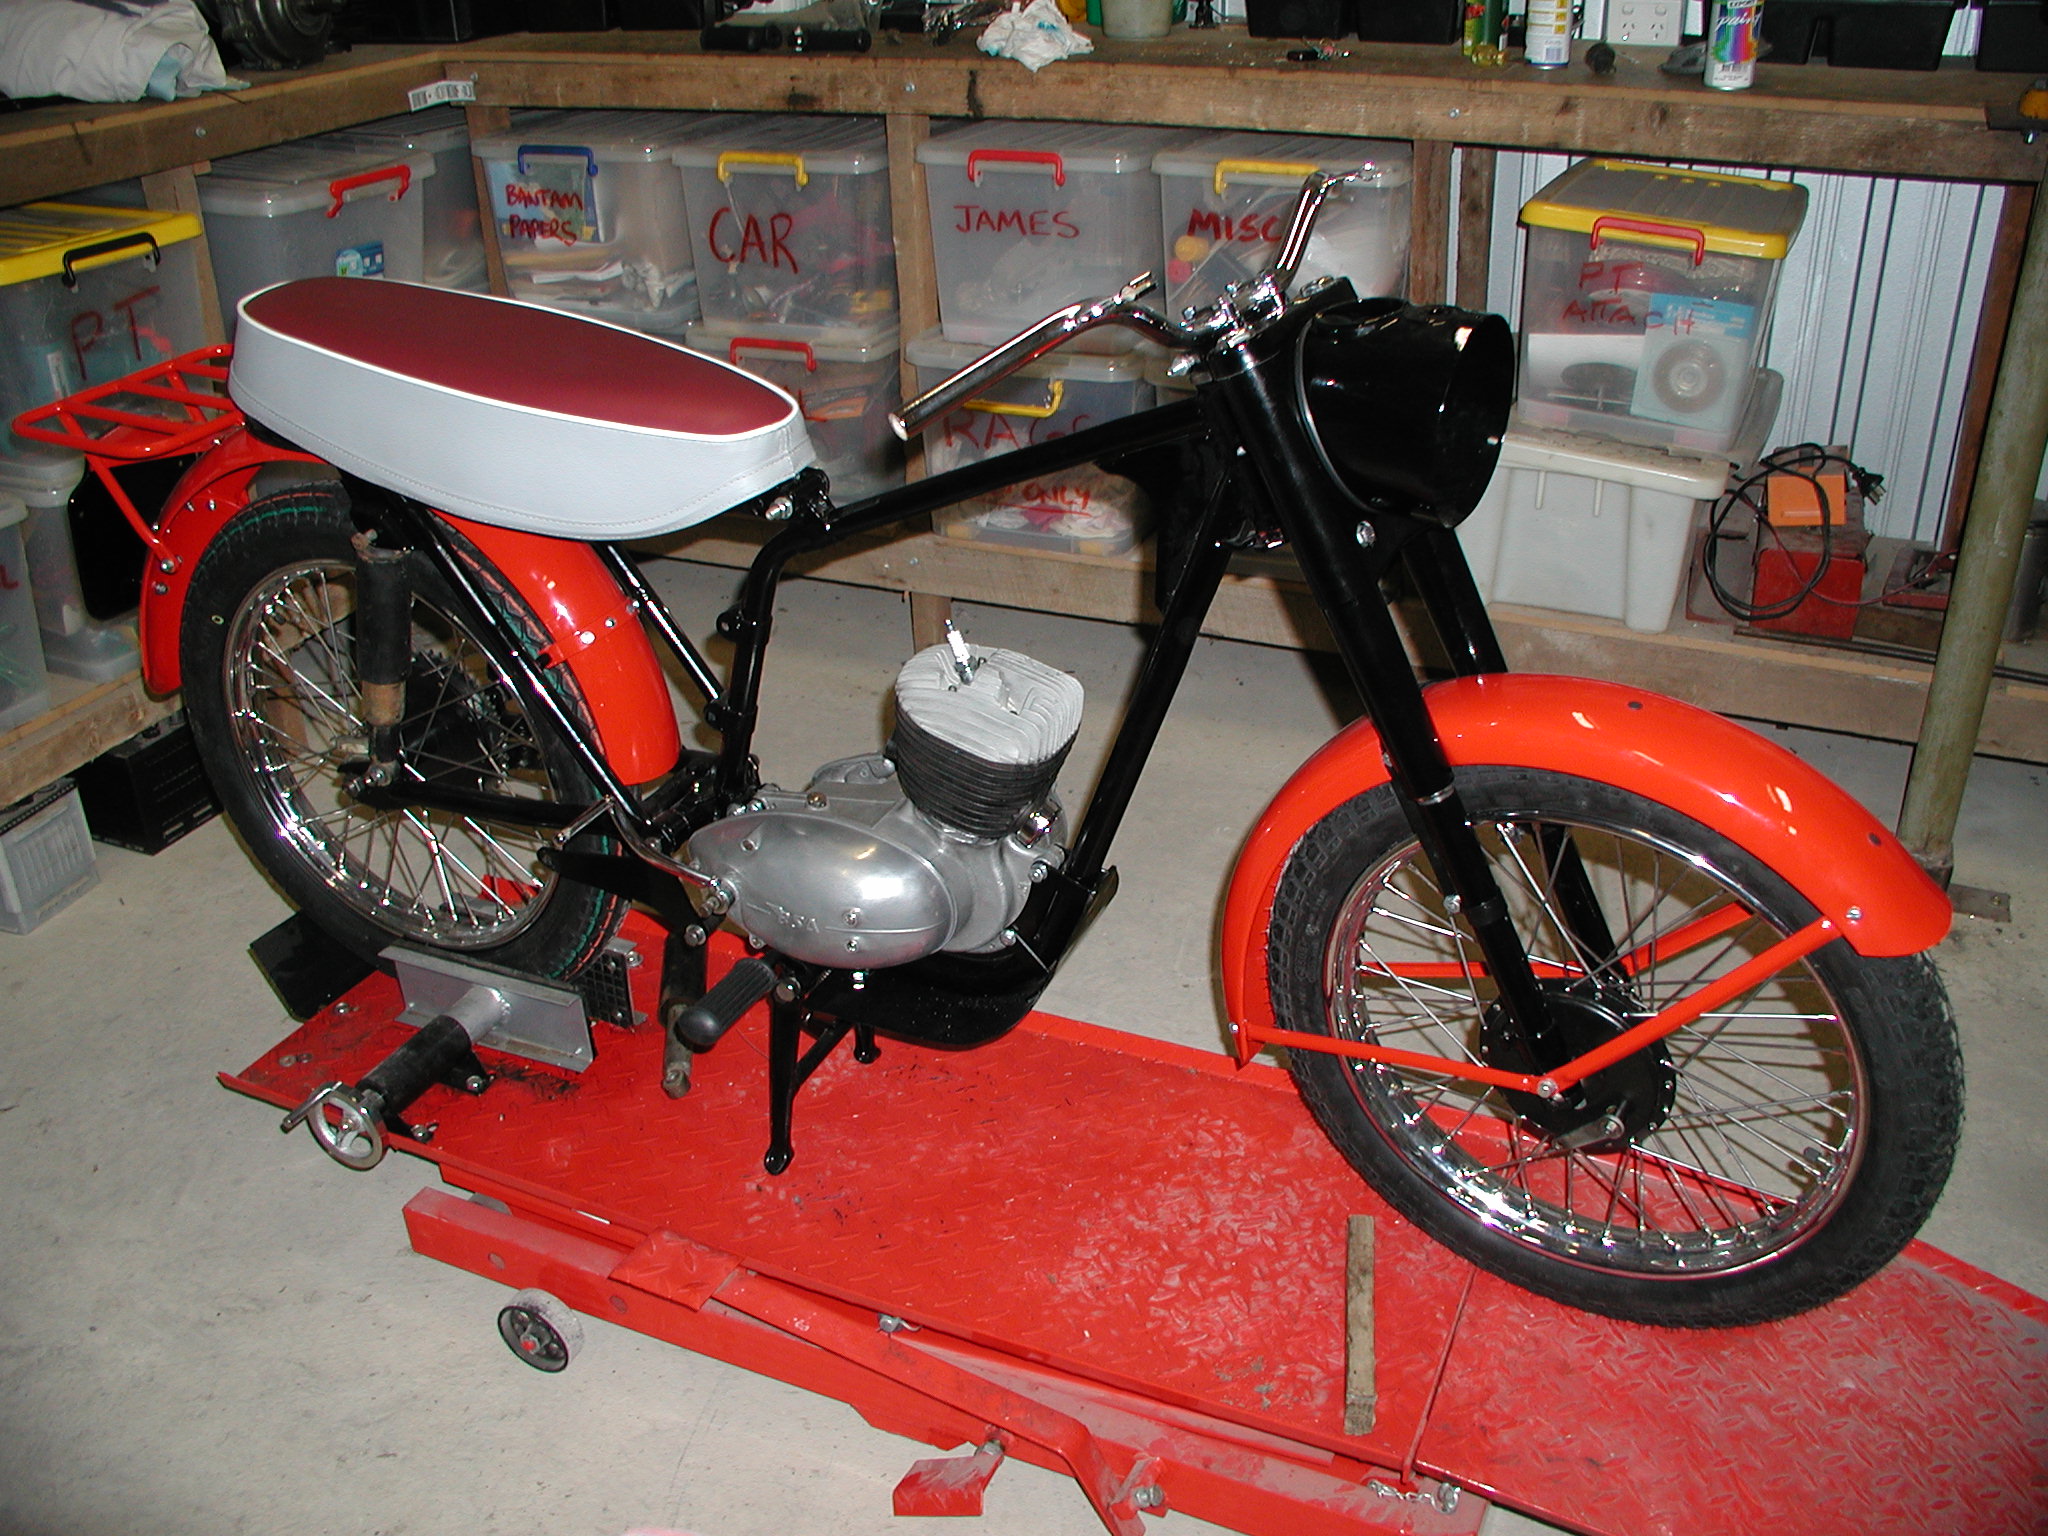 |
With the engine in the frame and the new seat and painted parts fitted (complete with proper front forks) I started to time the motor. Couldn't do it. The original engineer has pressed the flywheels together about 15 degrees out of the correct place. As a work around we fit a set of car points which can be adjusted around the points cam. This is VERY fiddly and requires some machining. Then we could get no spark. Spent two weeks replacing components. Finally removed the recently remagnetized flywheel and replaced it with an old unit. Beautiful fat blue spark! Bike starts. Fantastic feeling. |
 |
Finally she was finished. Gave me a fright when the throttle stuck full on while we were tuning her and the bike kept running even after we knocked the spark plug cap off! A quick strip down revealed a little dob of gasket cement in the head chamber which must have been acting as a glow plug. No poltergeist after all! She runs well, actually handles after a fashion (must be the Hagon shocks) and her only really bad habit is that old D7 tendency to jump out of second gear. I'll track down a good gear cluster and fit it one day. After the next project. Maybe. |