

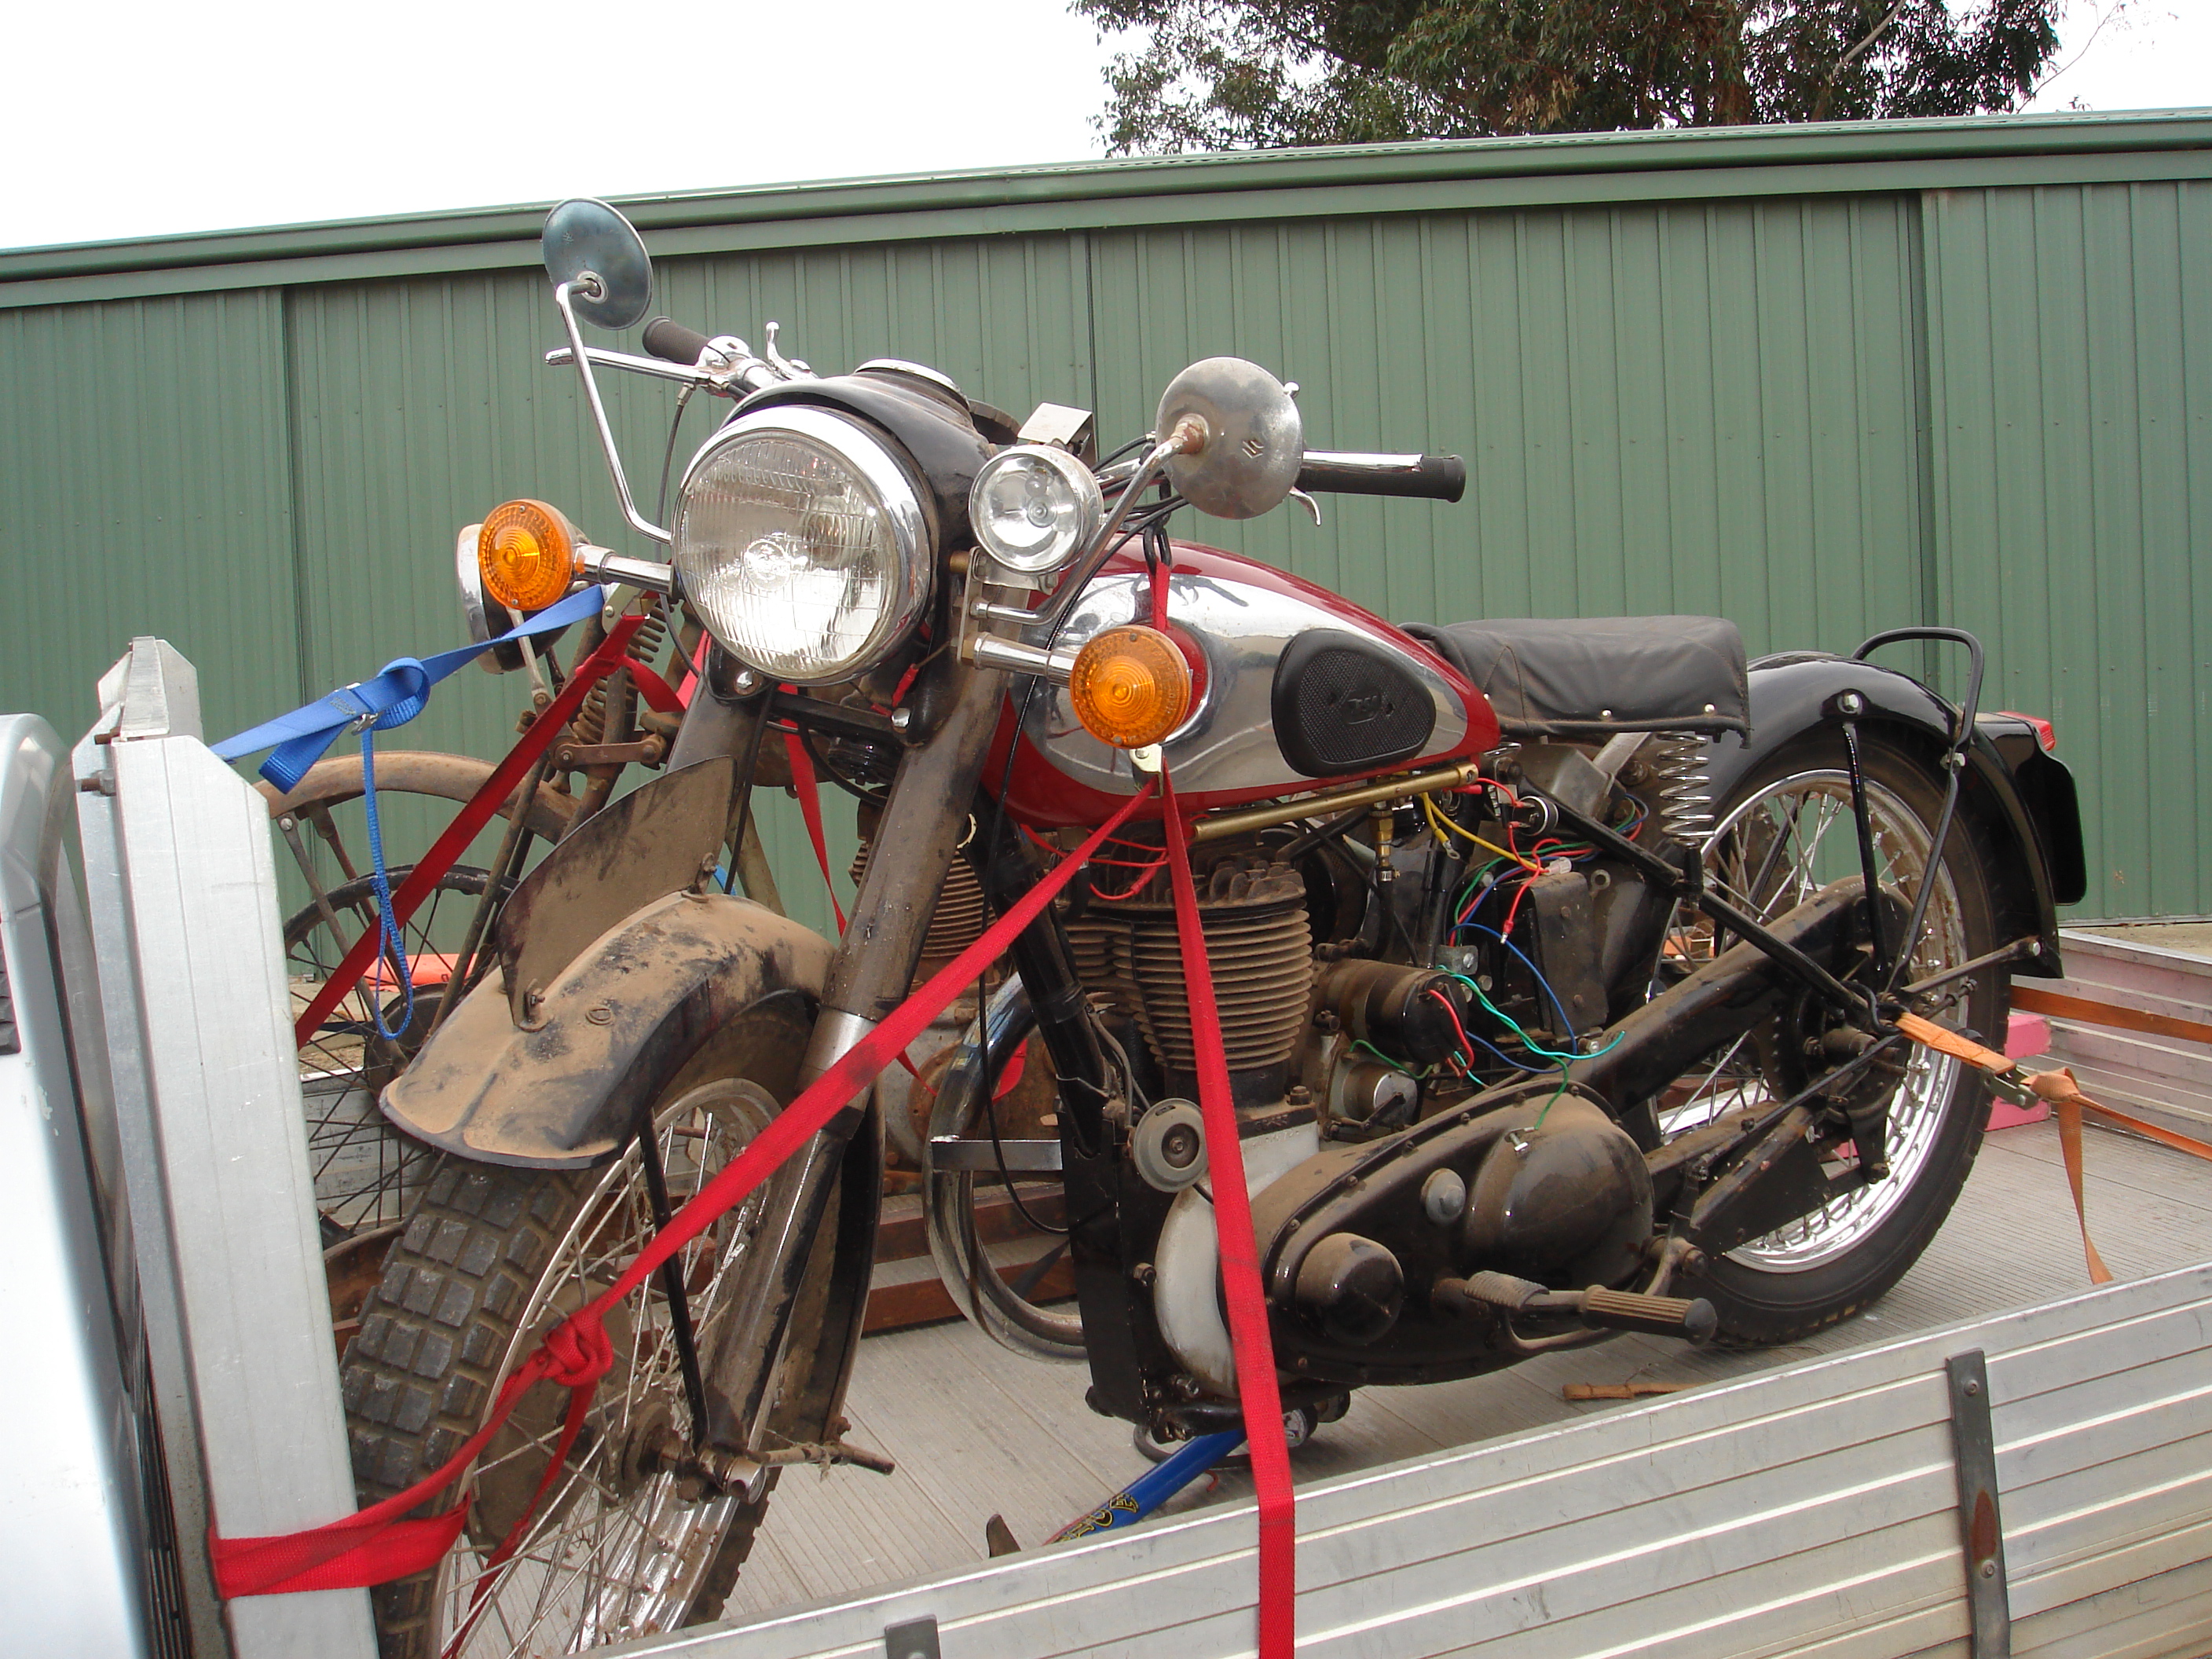
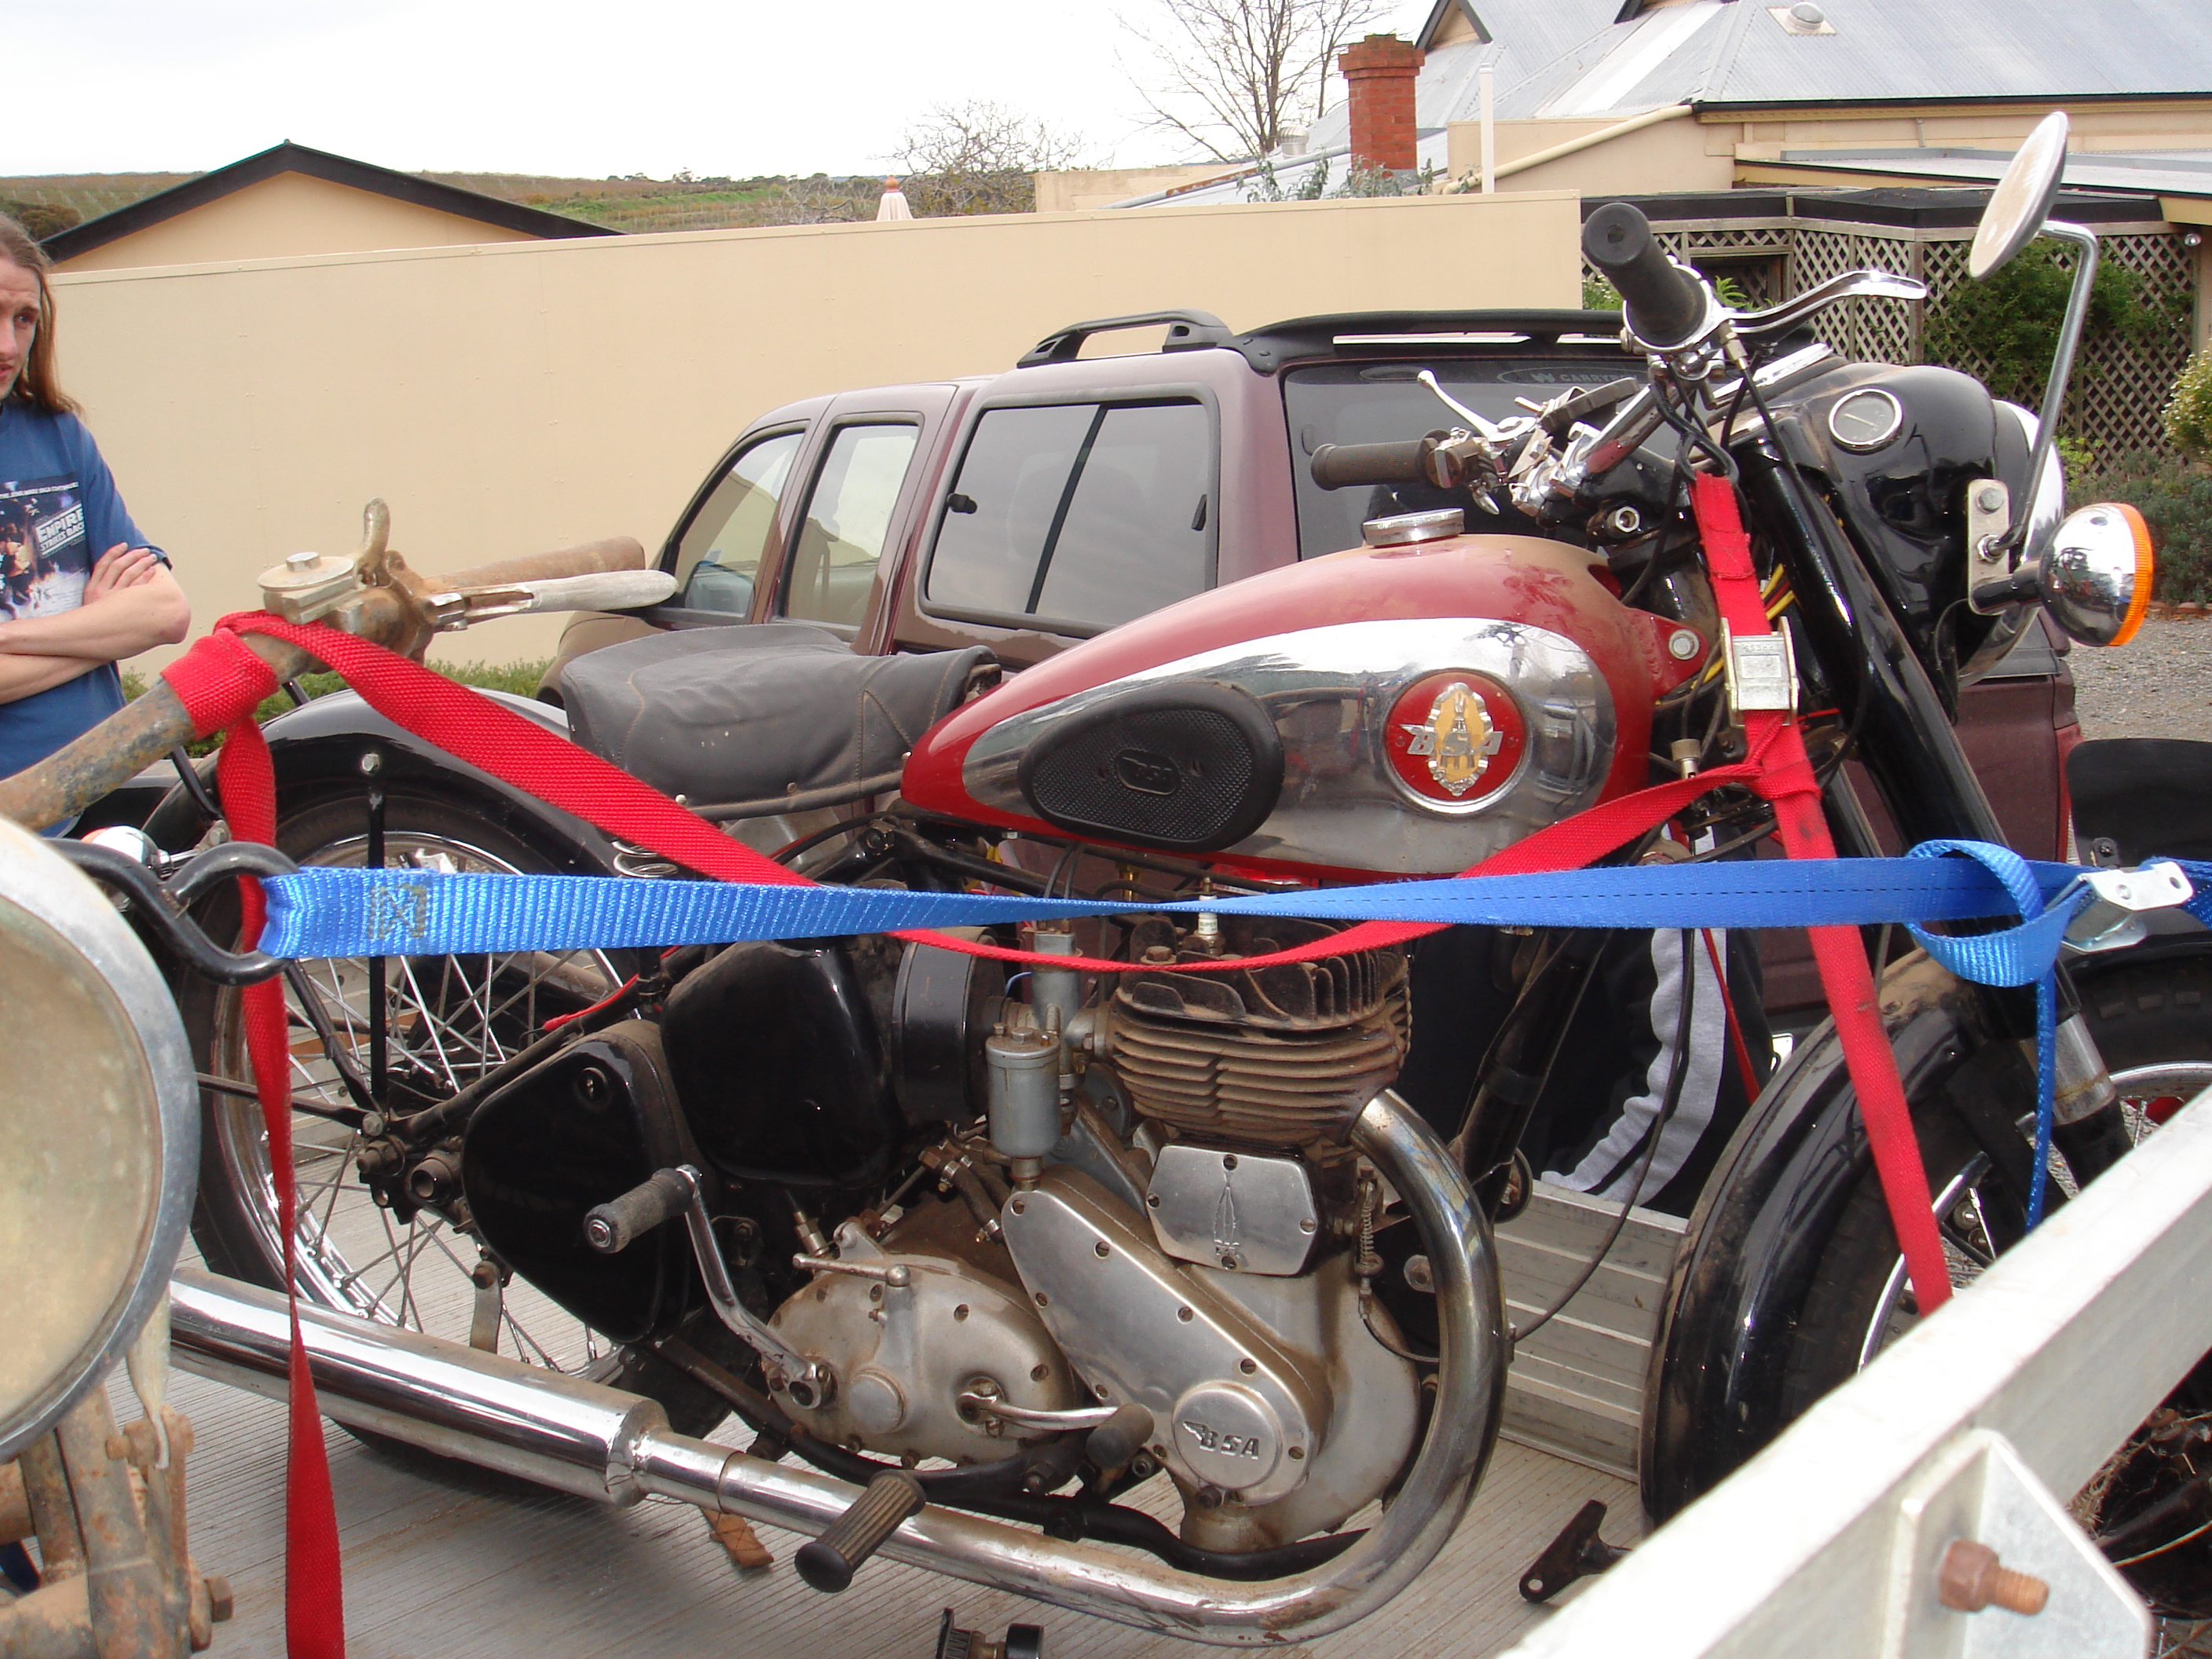
Tony's 1954 BSA M21 - The Big 600 
| Step Two: Where it all comes apart |
| |
|
 |
July 2007
After cutting off and binning all the wiring the next job was to pull the M21 apart. At each step of the way I have decided to use my digital camera to record the process. This makes life so much easier when you come to put it all back together again!
|
|
|
 |
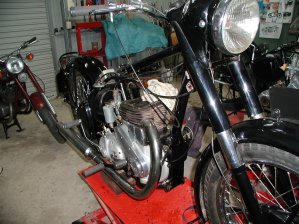
Head off
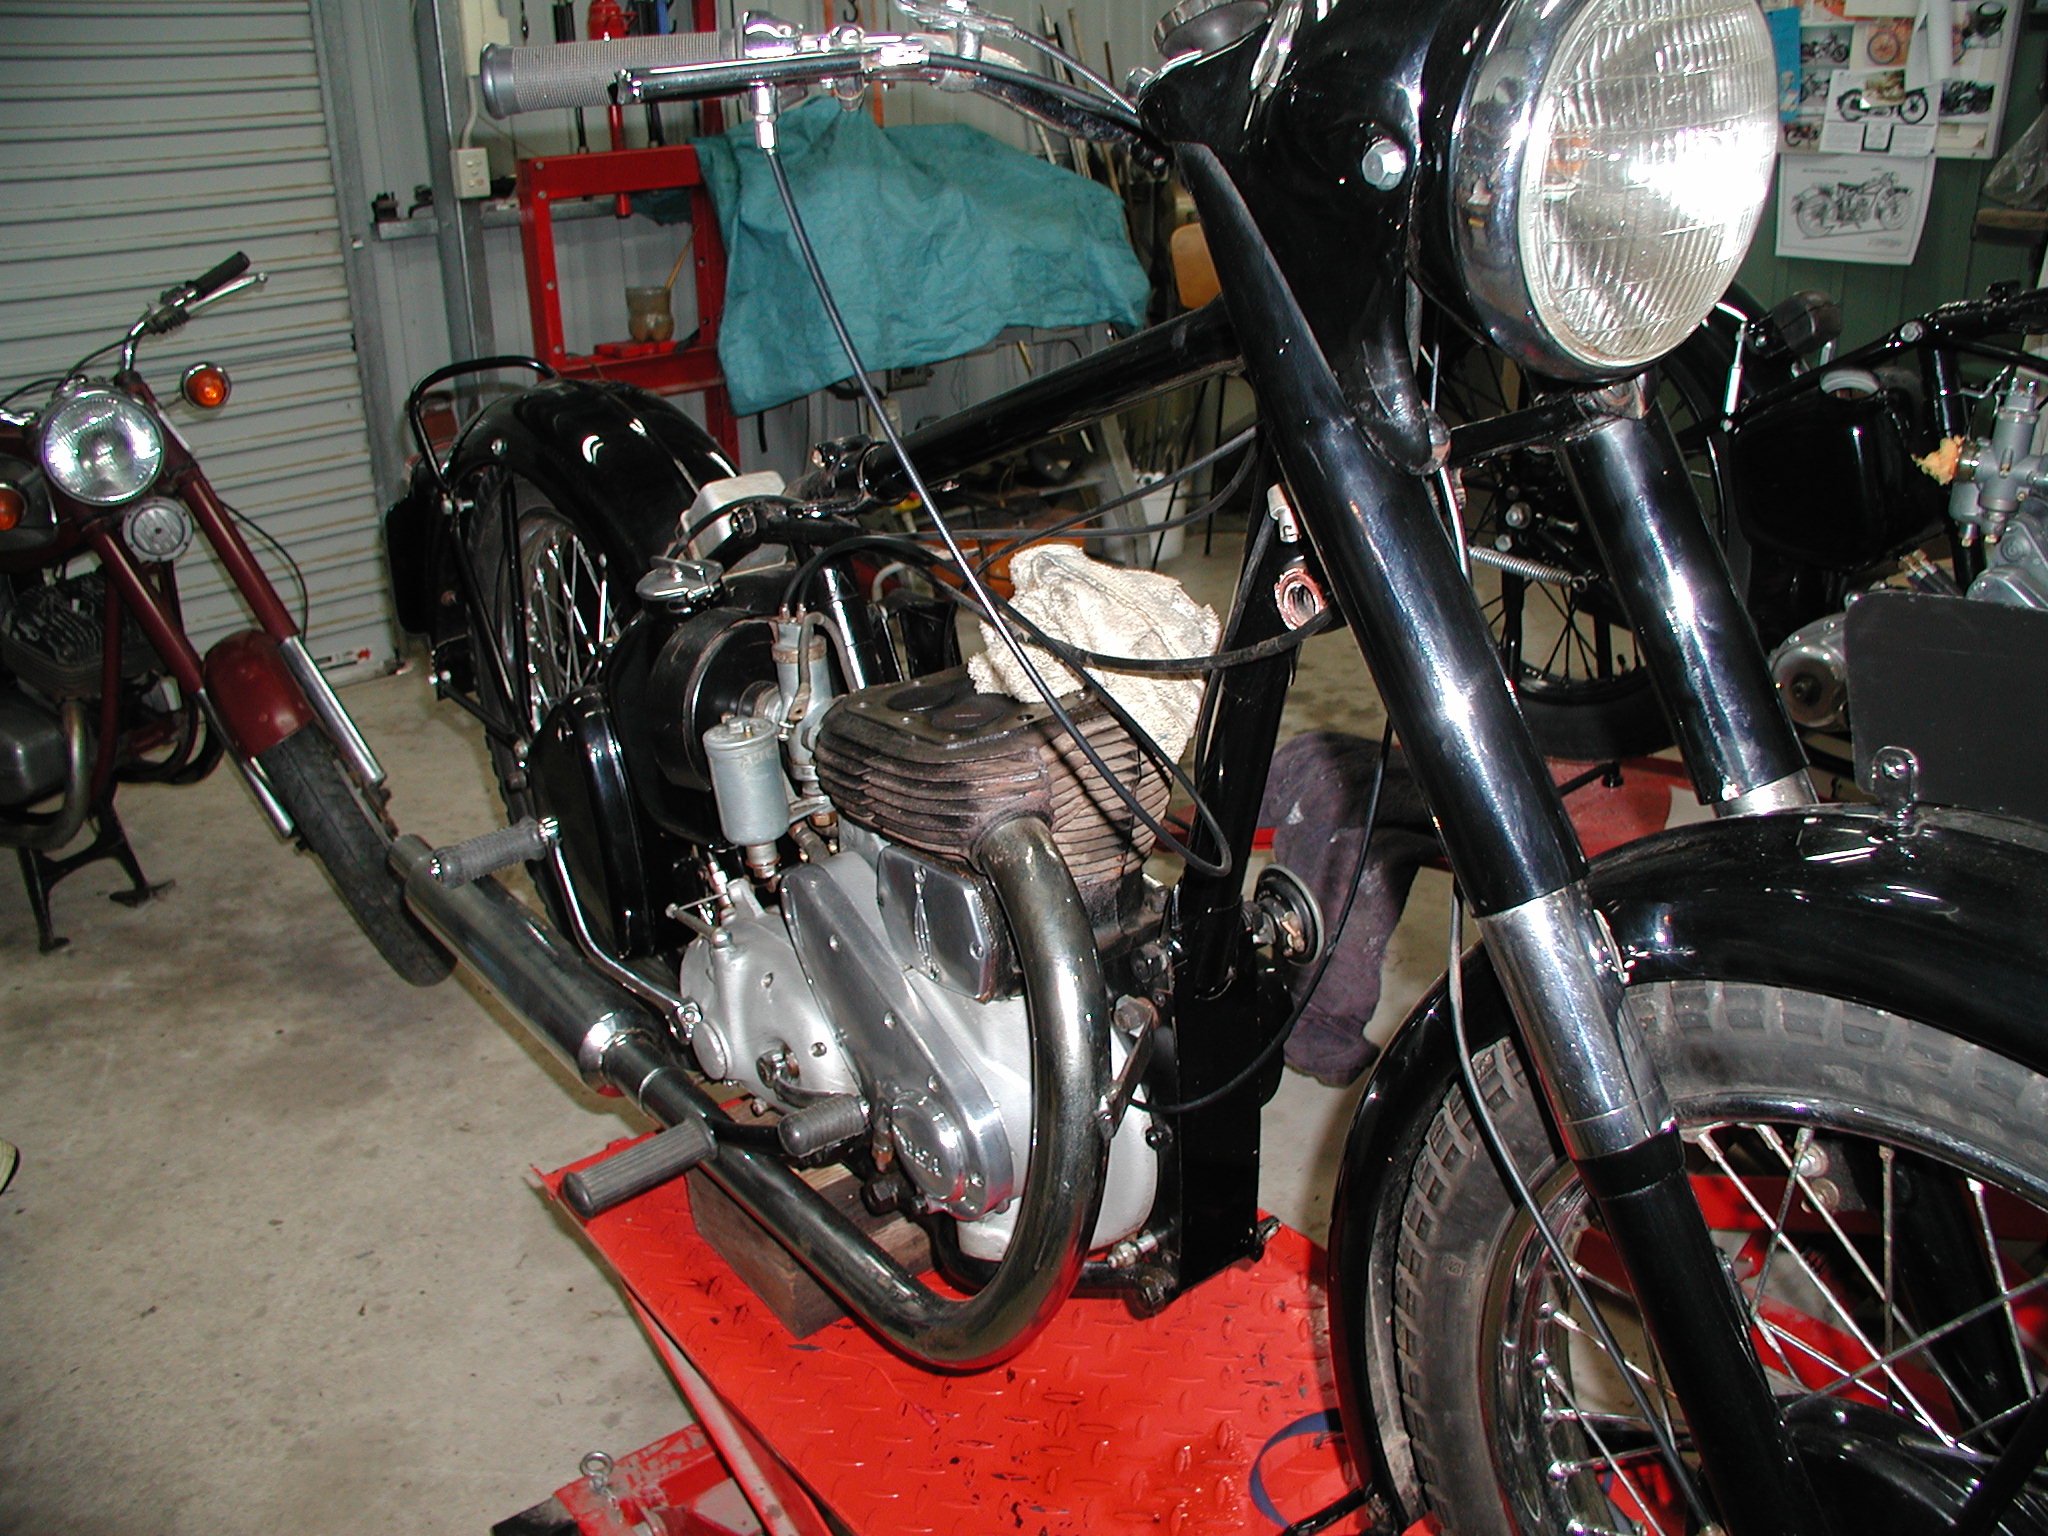
While the side-valve motor could all come out in one piece I decide to take it down as far as possible while it is still in the frame - the bike makes a convenient engine holder! With the head off we start to get the "good news, bad news" routine. Good news is that it looks like this bike hasn't run very far since it was last assembled - This fits in with the previous owner's story. However, the carbon build-up around the exhaust valve is telling me it probably doesn't seat properly. The head studs holes are worse news. About half are stripped or holding on by a couple of threads. The hole near the exhaust valve is clearly oversize and has been drilled out at some stage. It's been drilled so wide that it goes all the way through the exhaust gallery. Brilliant engineering. This will need some work.
|
| |
|
 |
The numbers!
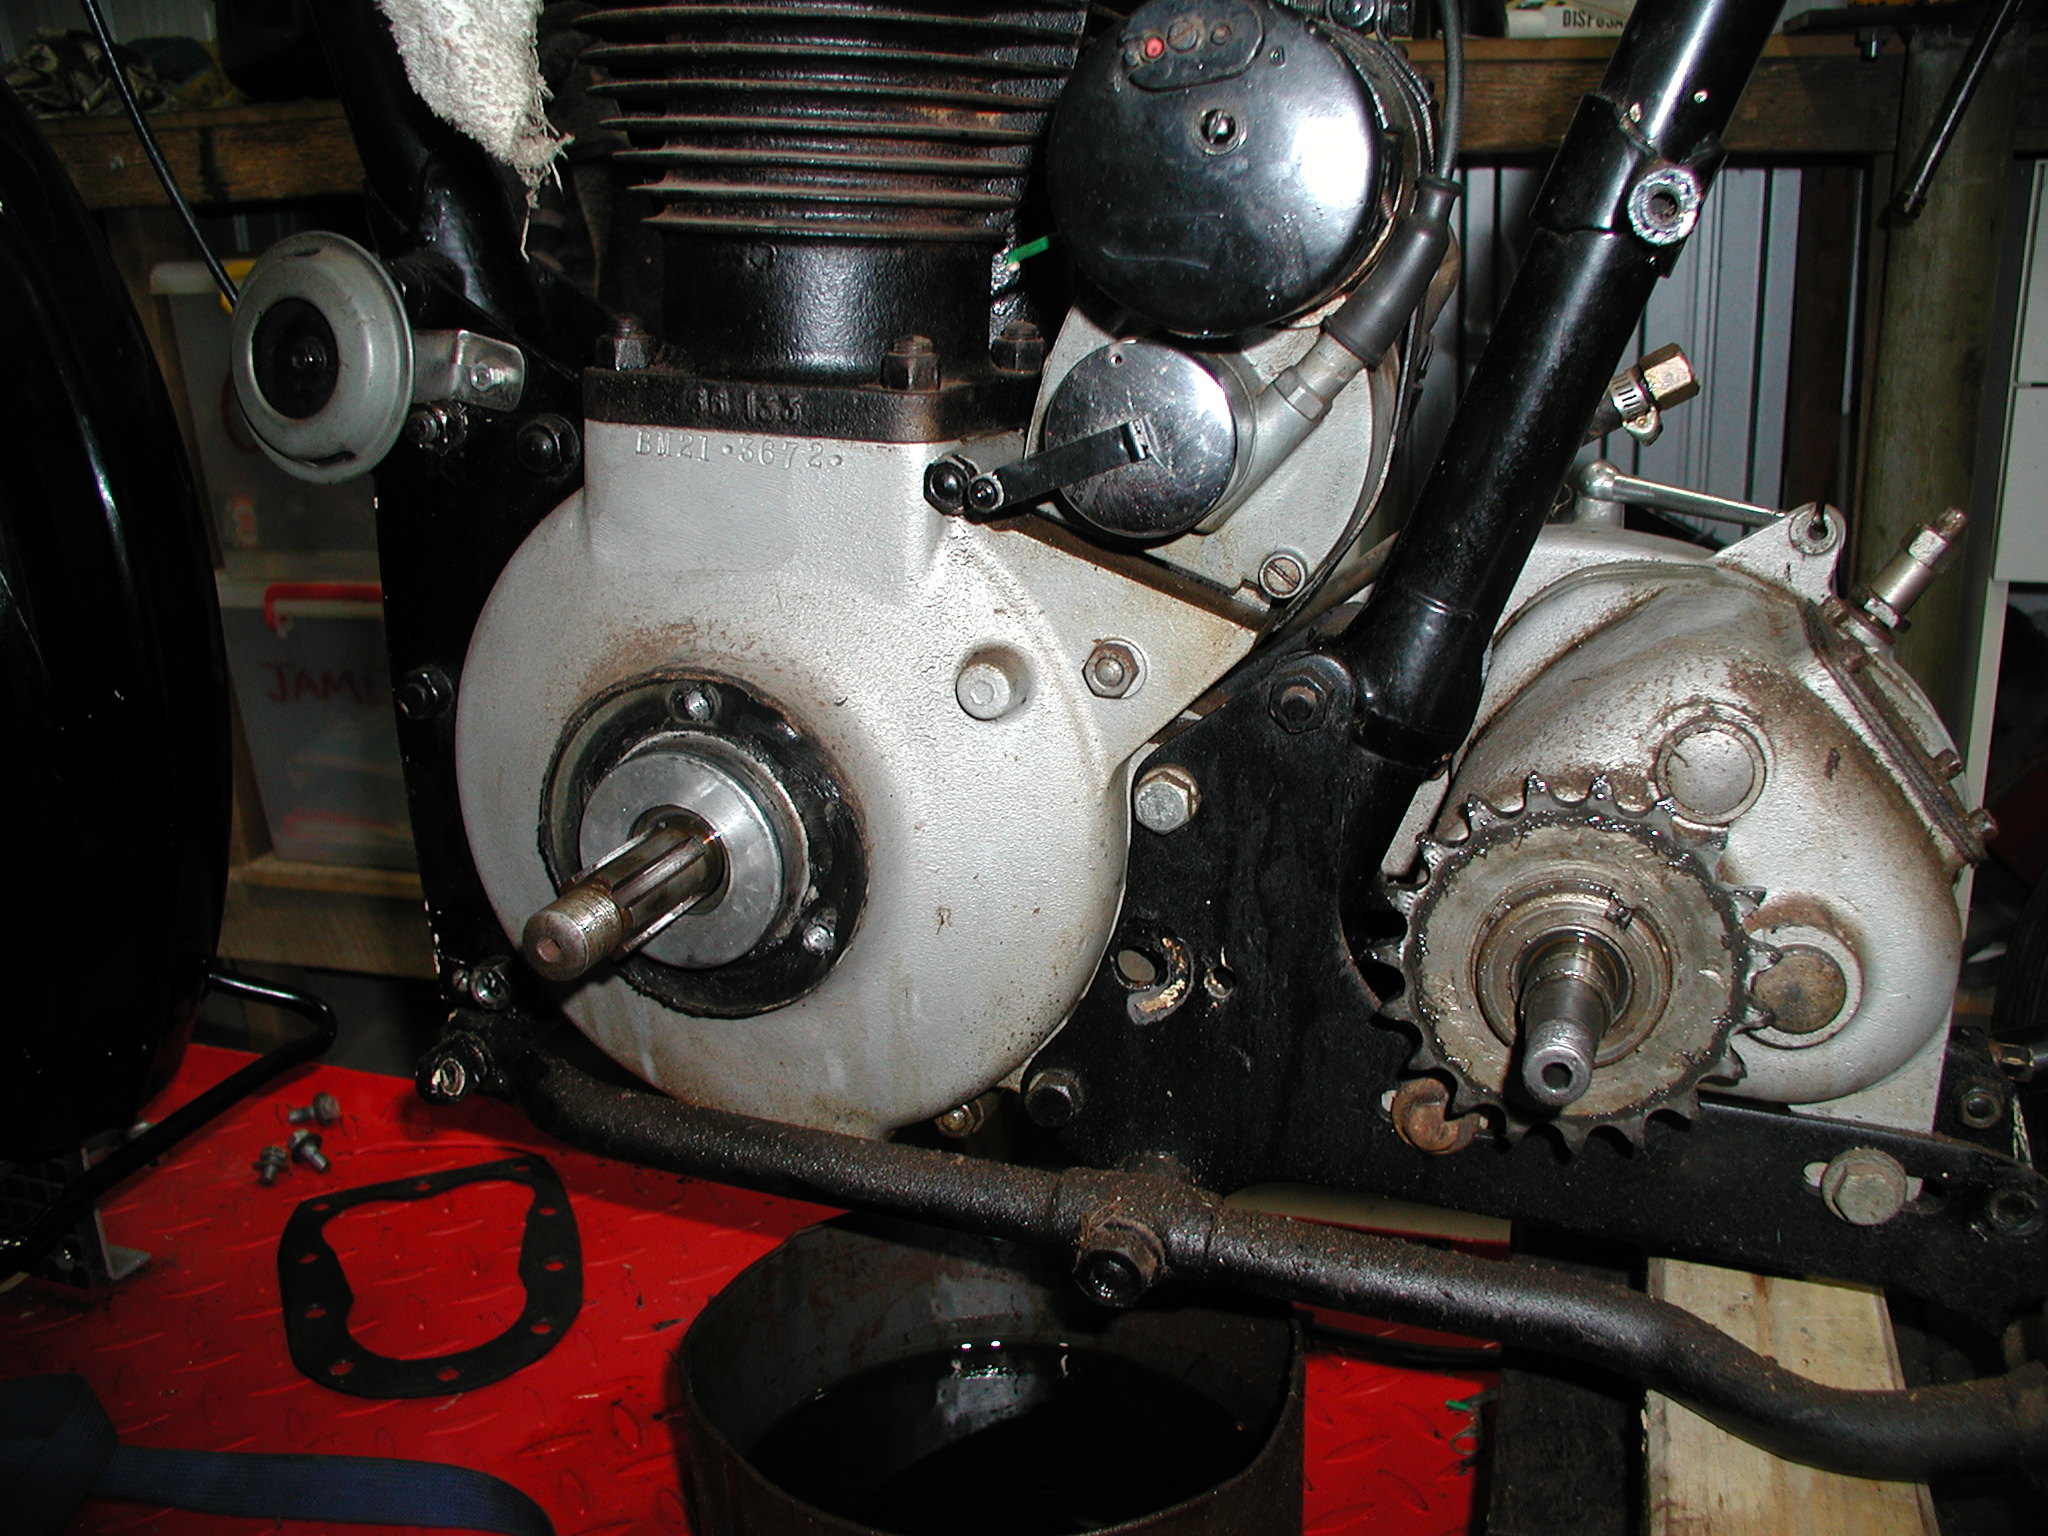
The primary side was taken off and it was then that I checked the engine number (BM21 3672). I have a 1954 BSA M21 and the frame is also a 1954.
|
|
|
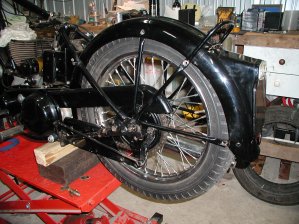 |
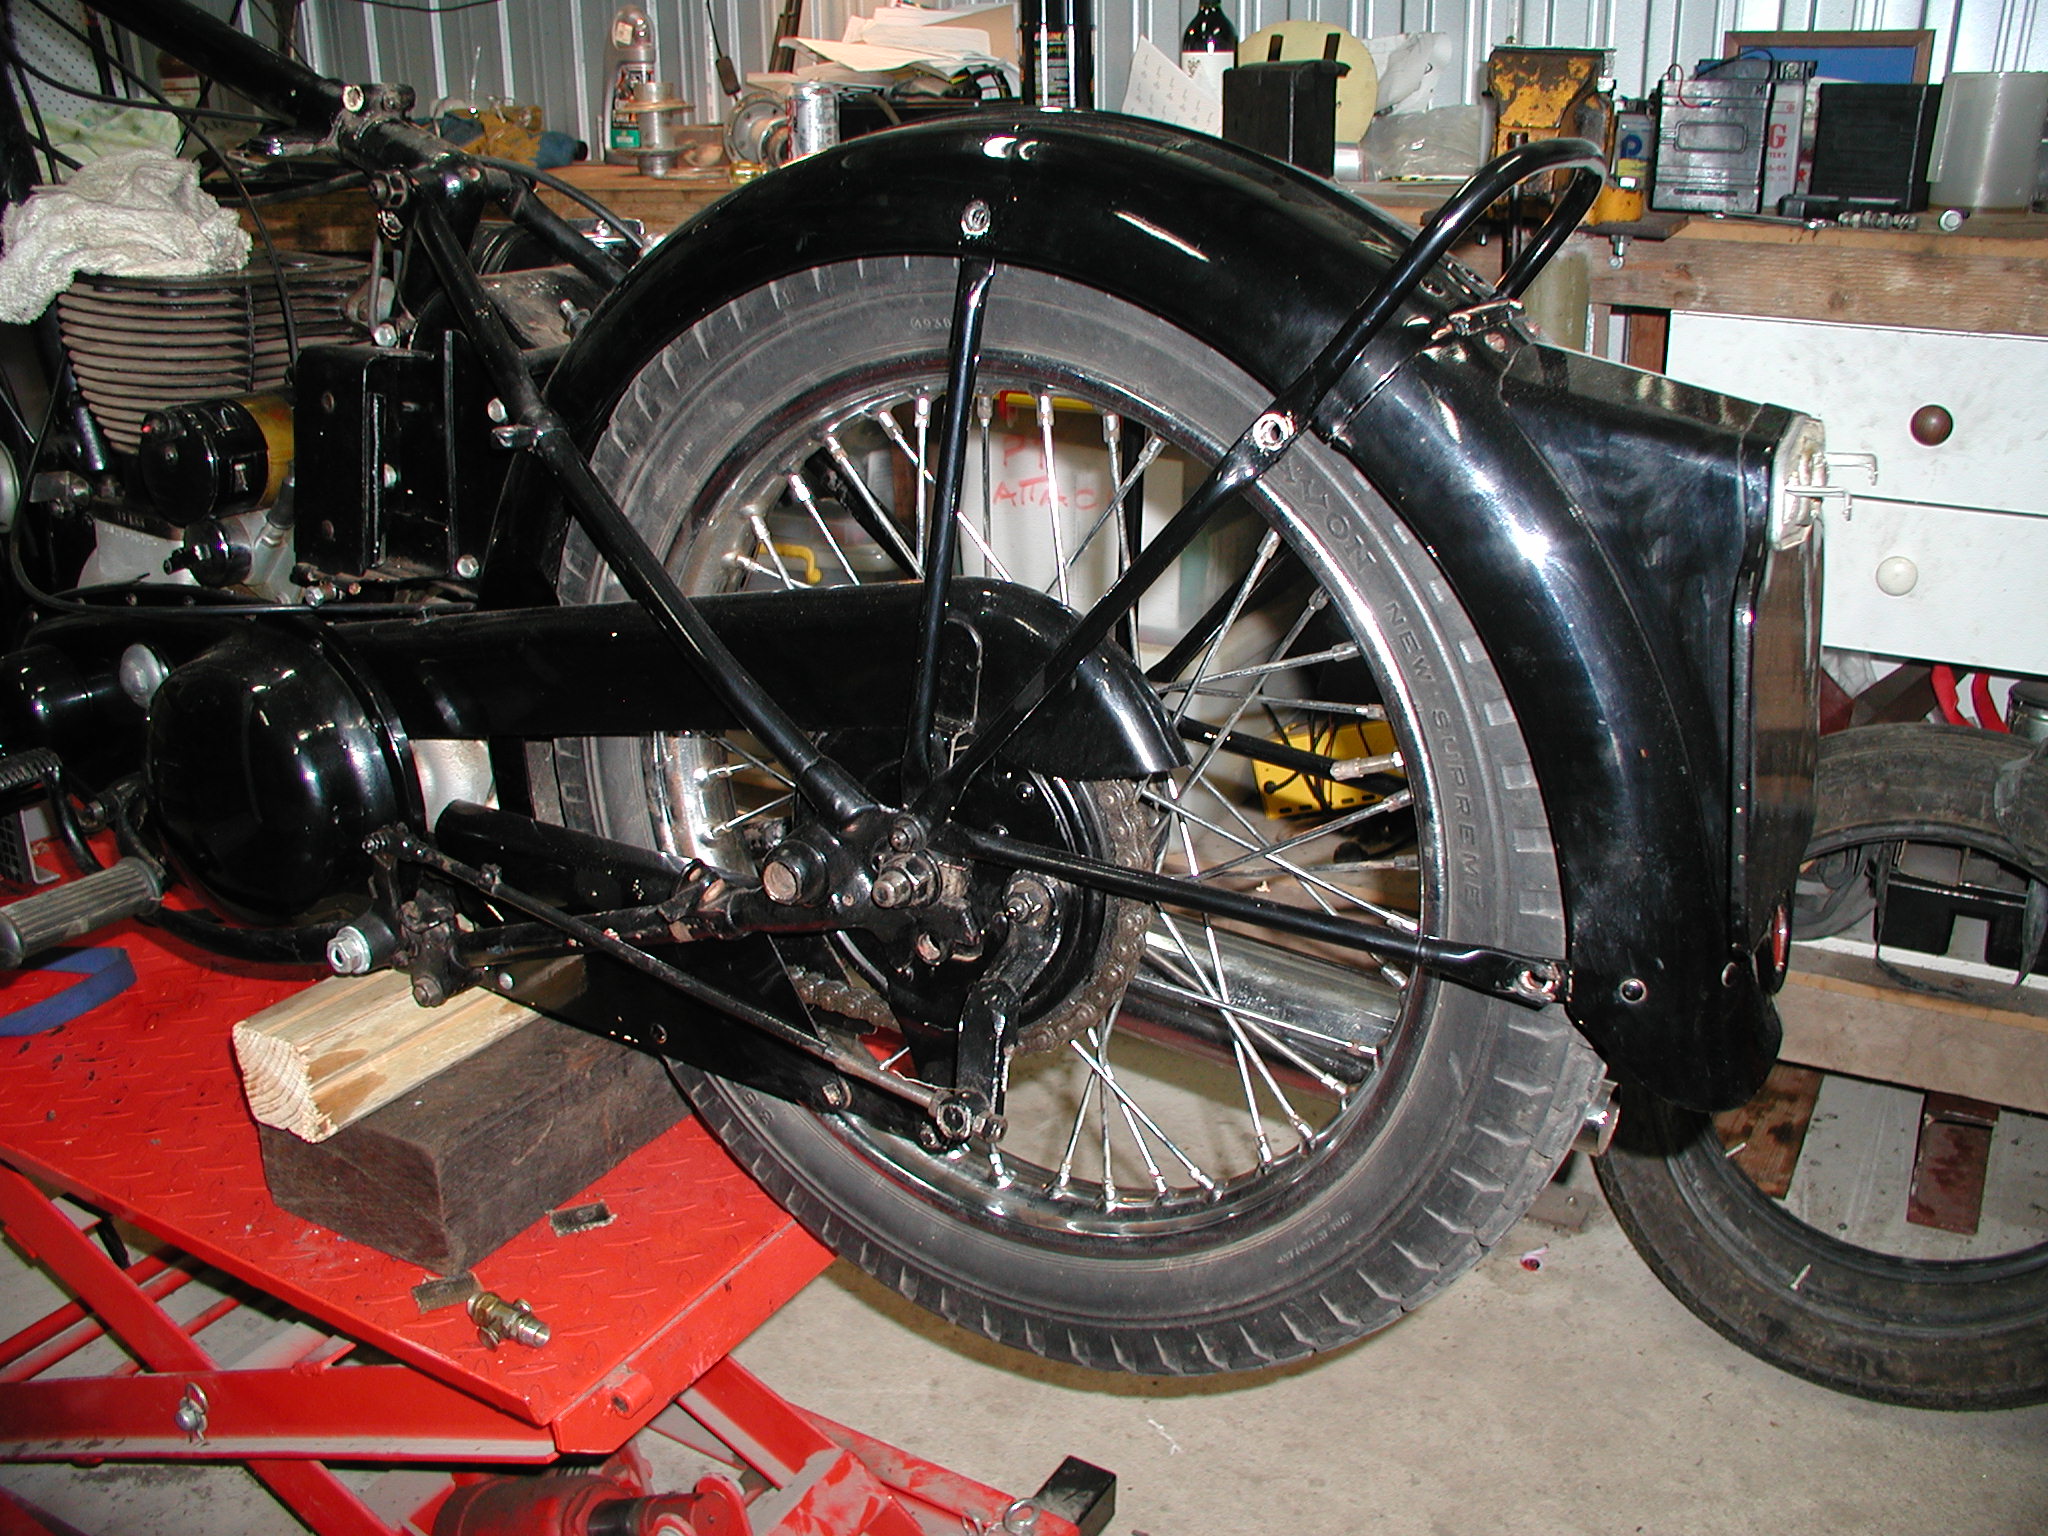
The back end
The rear section of the M21 is a solid, sturdy affair designed for hauling sidecars rather than rider comfort. I was pleasantly surprised to find tapered roller bearings in the hubs - again Bantams and C11s had not prepared me for such technological advancement!
|
| |
|
 |
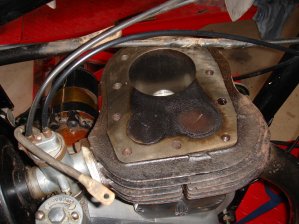
Engine out and on the bench
With the M21 motor on the bench I can now start the job of engine dissassembly. The old side-valve motor is as simple as you can get - you don't need to have great mechanical skills to pull one of these down. As the motor comes apart there is little evidence of past abuse - in fact it looks reasonably tidy and well kept.
|
| |
|
 |
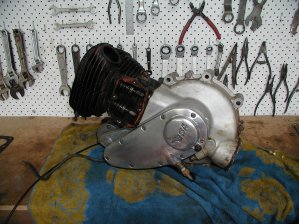
The timing side.
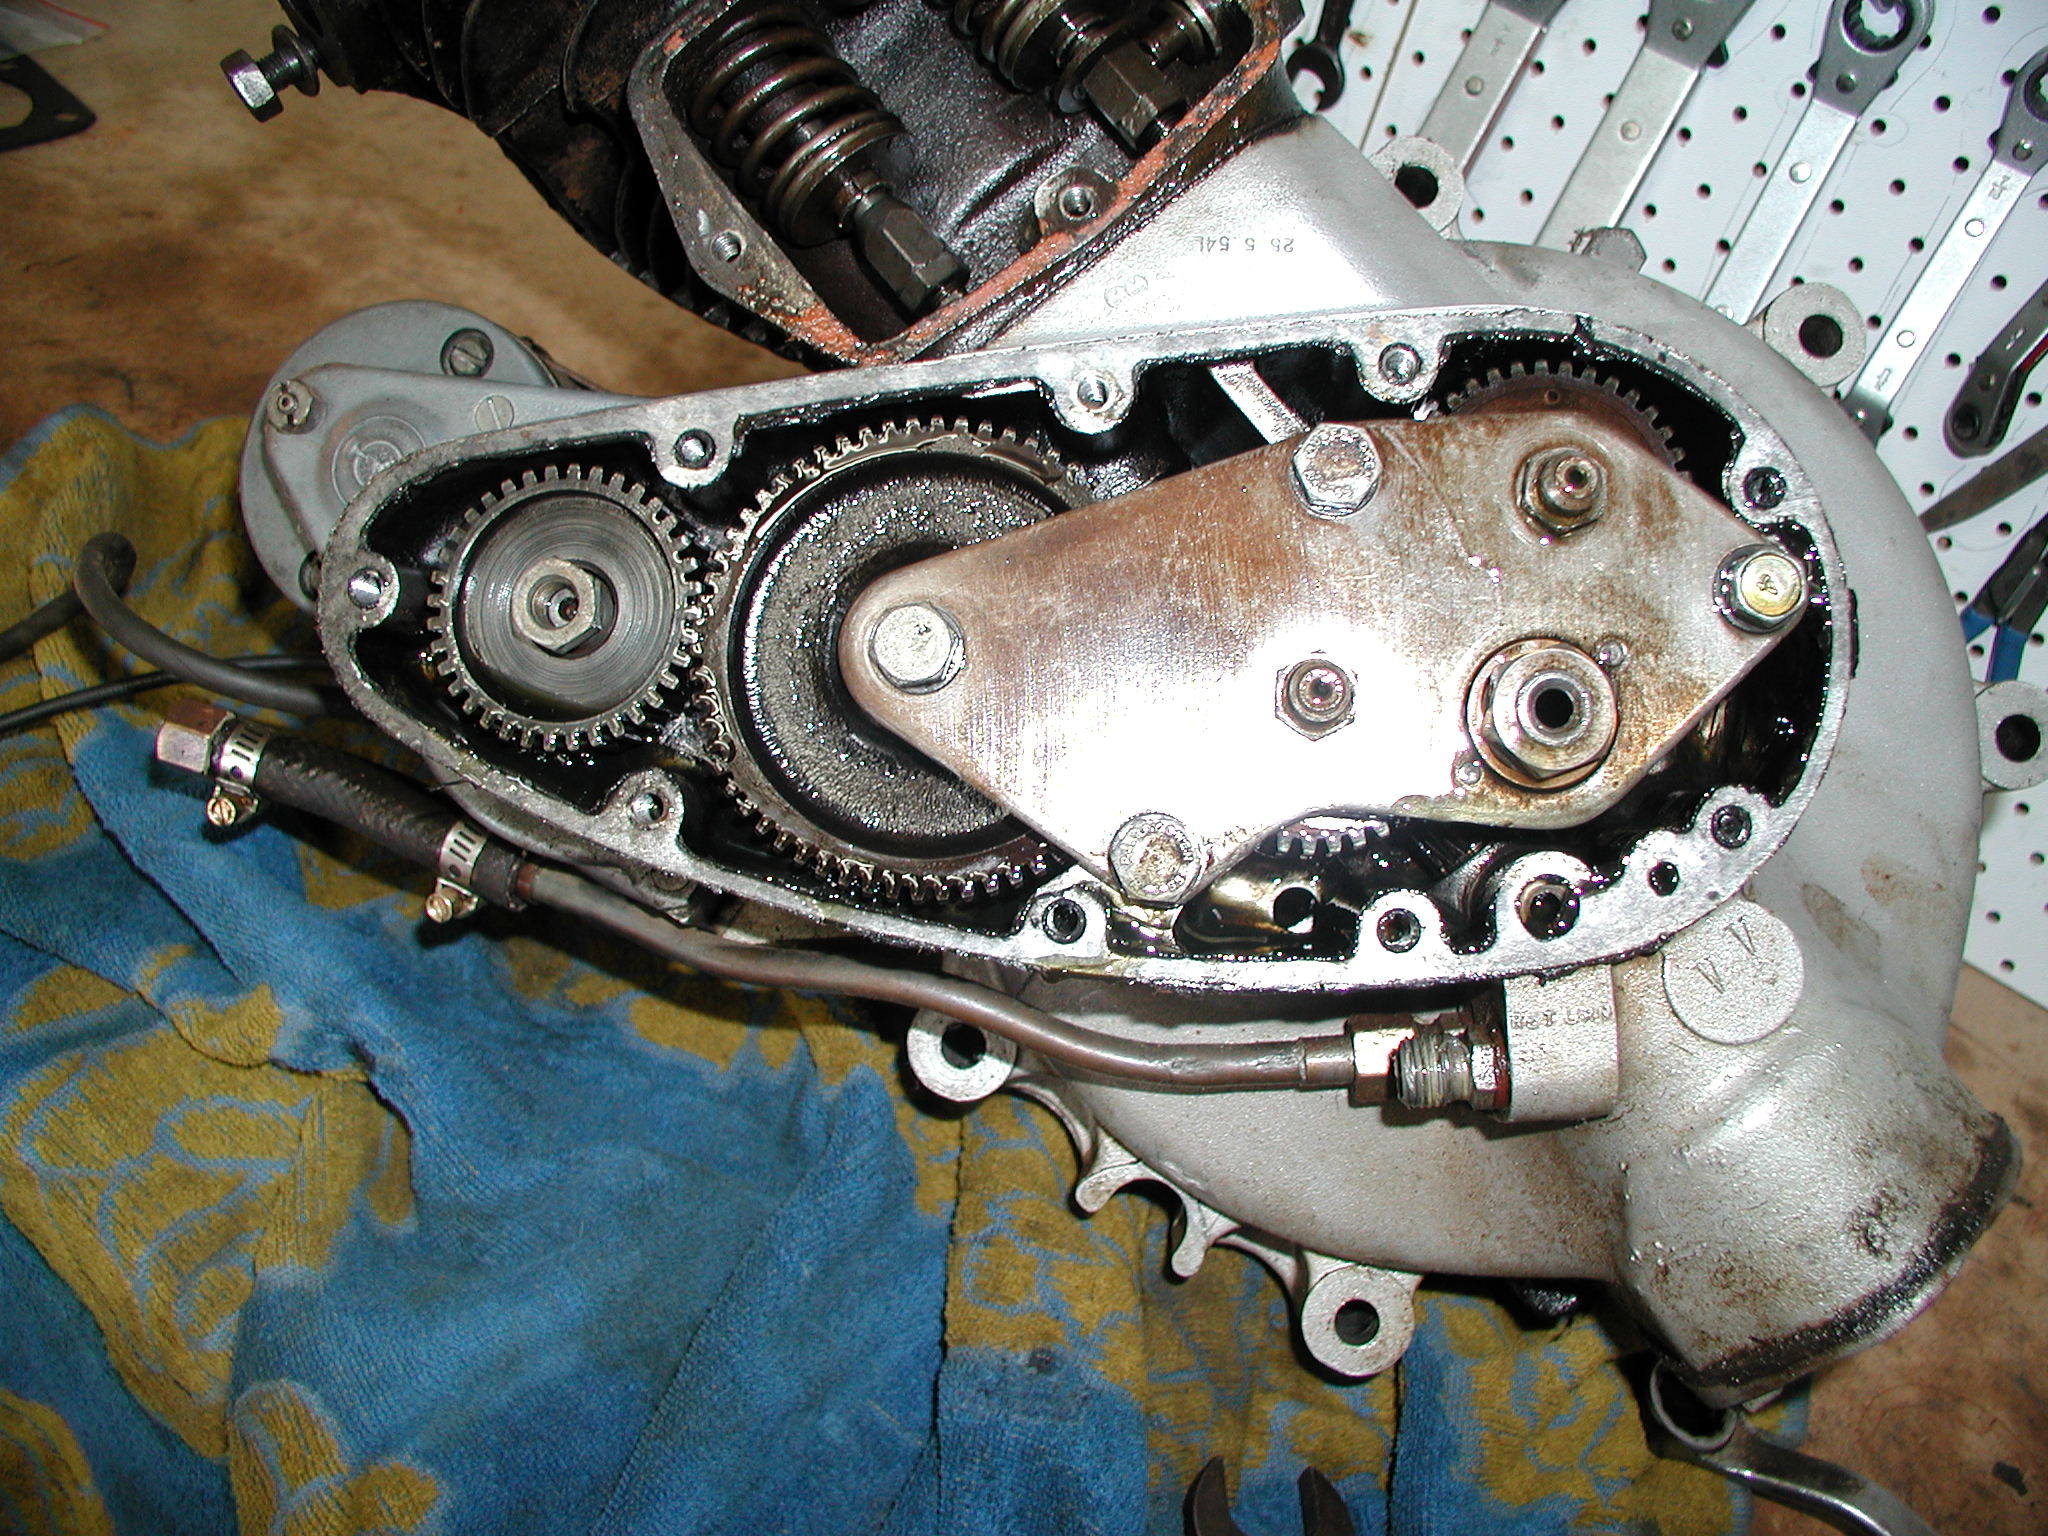
The timing cover comes off (lots of photos here) and bit-by-bit the engine comes apart. Interestingly, the side of the crankcase (see photo) is stamped 25 5 54L. Does this mean 25th May 1954? Maybe. When the motor is finally apart I take it to Dave for a rebore (to match the new piston and rings from Modak in Melbourne), the valve springs and valves proved to still have life in them. Valve guides were also found to be within tolerance. Dave took the flywheel, split it and measured the wear on the bearings. With less than 1 thou wear it was decided to leave the big end alone. Dave put the flywheel back and balanced it. Dave also heli-coiled those barrel stud holes and re-sleeved the hole which had been drilled out too far. I found the main bearings to be worn - one was very badly worn - and so must get a set of main bearings to suit.
|
| |
|
 |
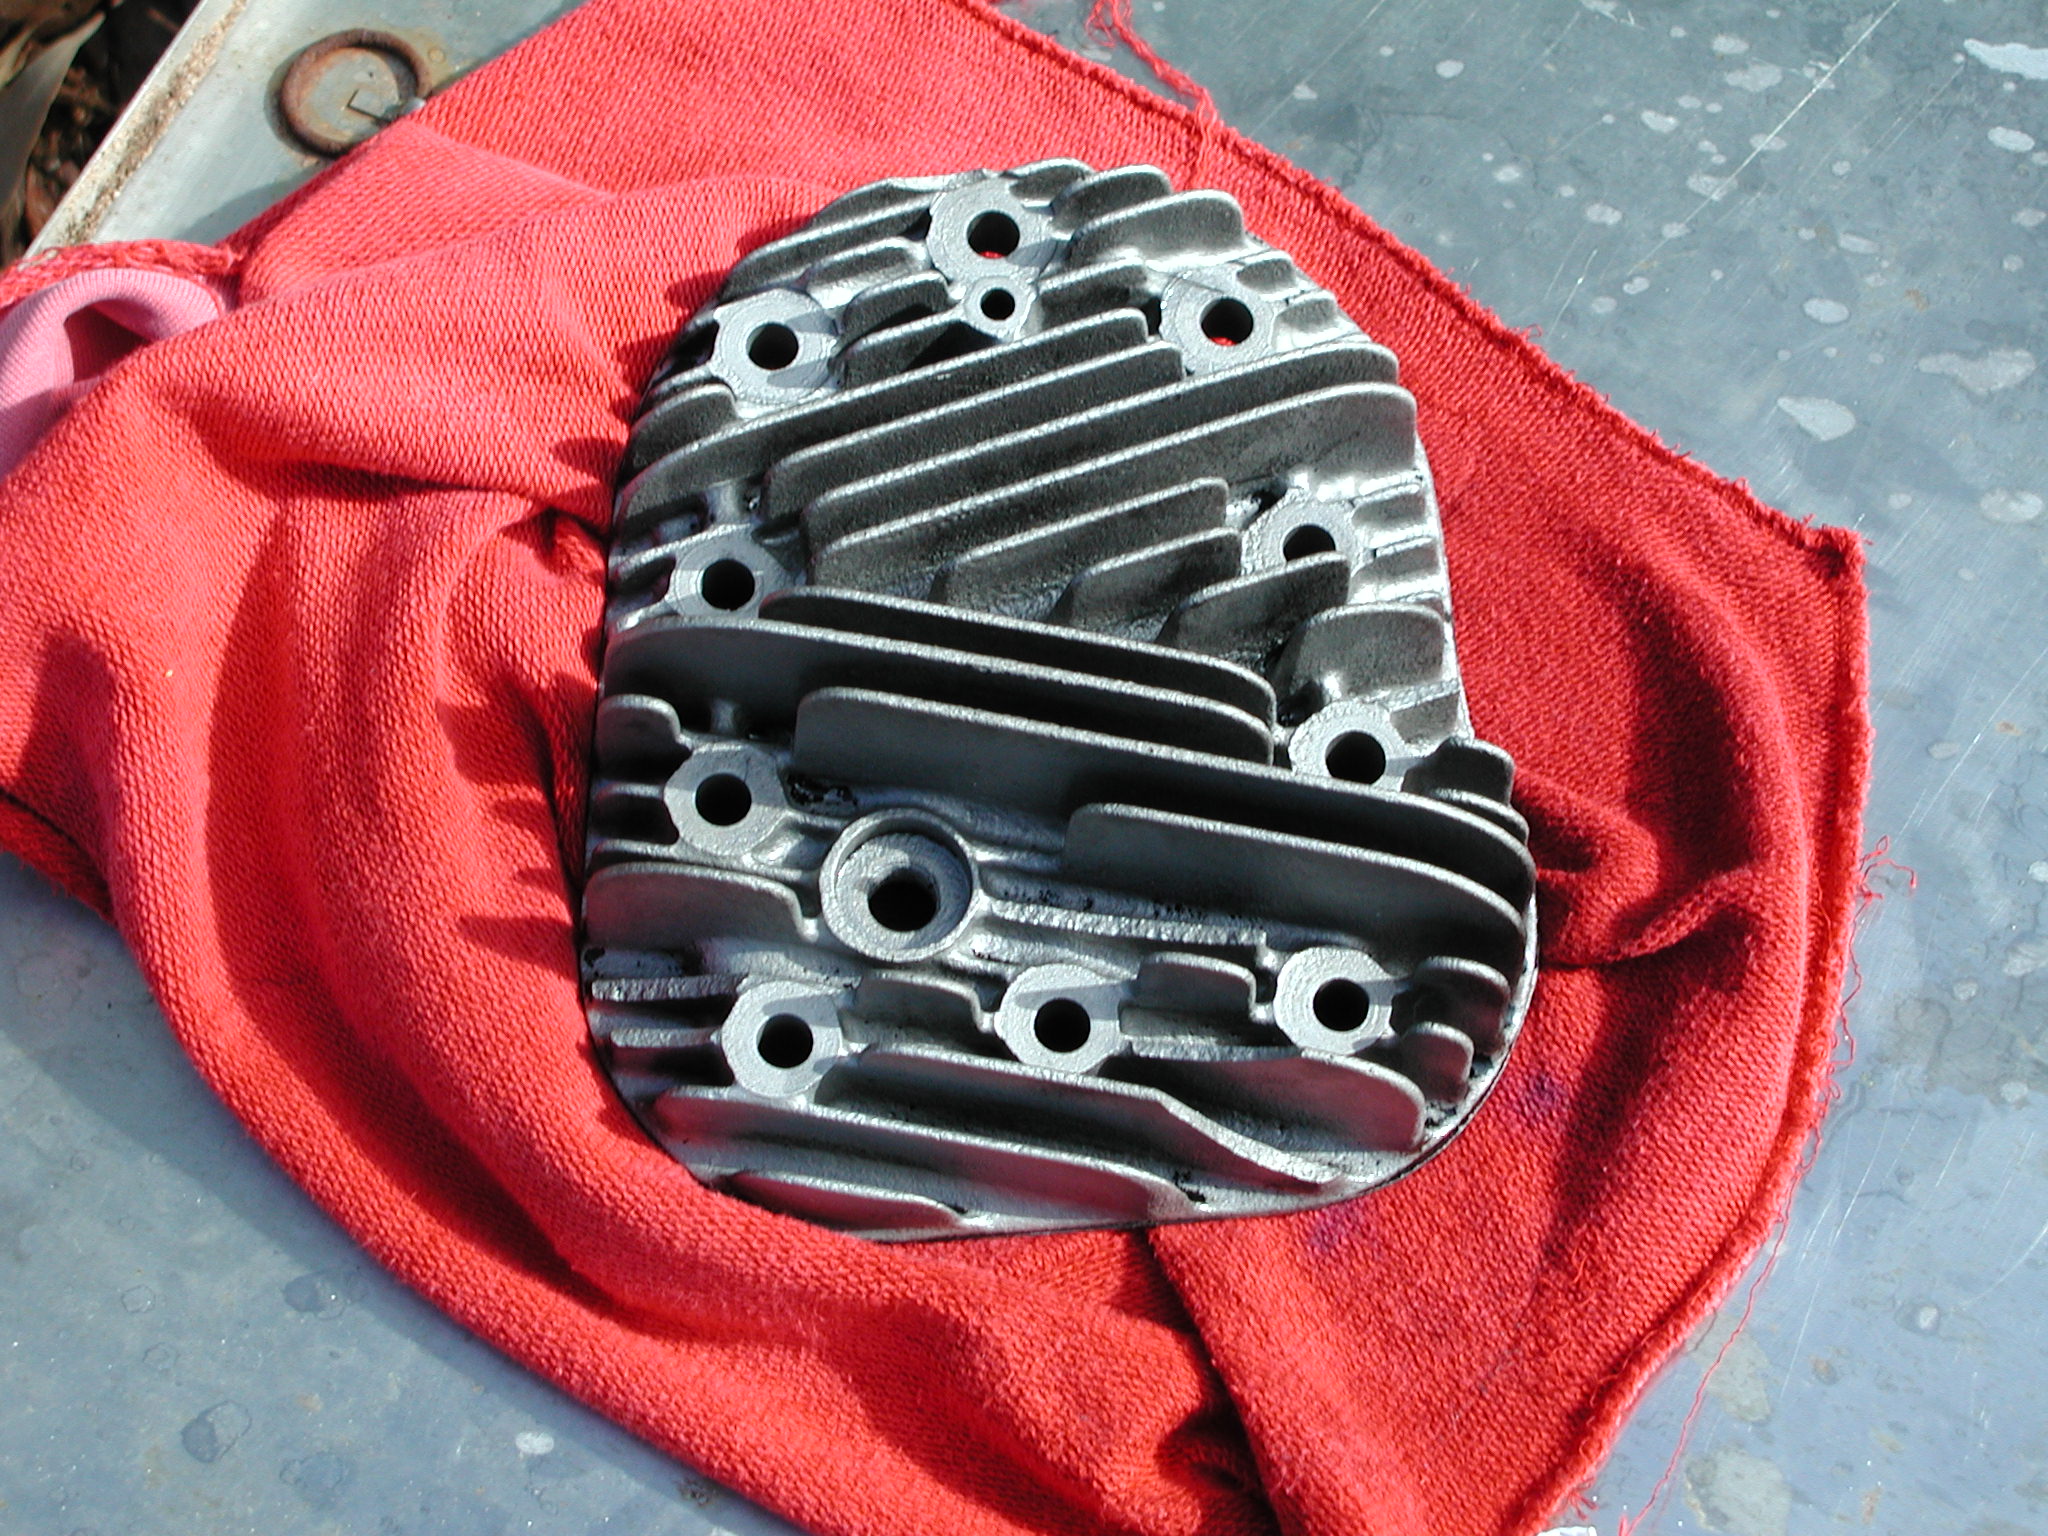
The head returns
As with every restoration, nothing happens in the order in which it is planned. I dropped the head in for sandblasting and other work and it arrived back two hours later! On the way home I purchased some heat resistant engine enamel and, after giving the head a good wash in thinners, I started the process of spraying multiple layers of gloss black engine enamel on the head.
I wish I had looked closer at the head before painting it but more on that later!
|
| |
|
| PREVIOUS PAGE |
|


